
Remix API Integration with Nile Database
This guide explains how to integrate Nile Database with Remix and set up routes for handling various HTTP requests (GET, POST, PUT, DELETE). Additionally, you’ll see how to include client-side components for user authentication and interaction using Nile’s React SDK.
Create a new Remix project
Run the following command in your terminal to create a new Remix project:Follow the prompts and install your app. After creating the project, navigate into the newly created project directory:
Obtain Database Credentials
- If you haven’t signed up for Nile yet, sign up here and follow the steps to create a database.
- Navigate to Database Settings in your database’s UI at console.thenile.dev.
- Go to Connection settings.
- Select the CLI icon, and click Generate credentials
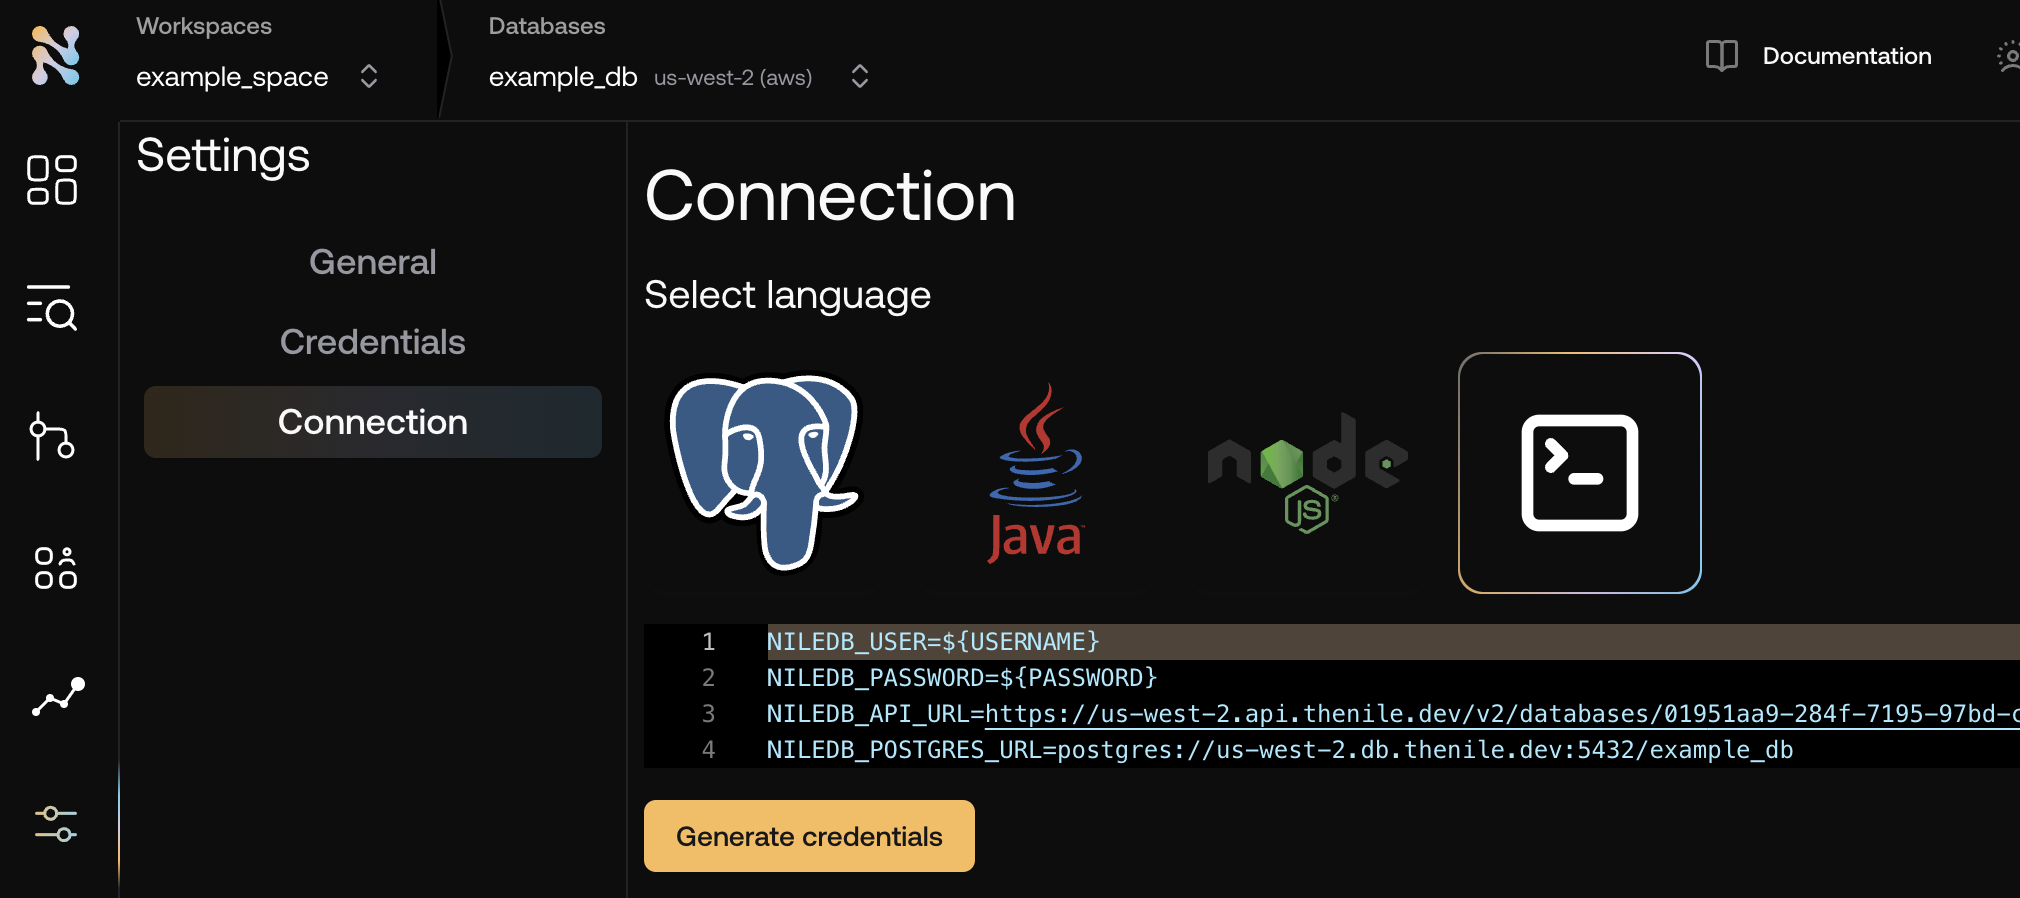
- Copy the required credentials and store them in an
.envfile so they can be used in the application to connect to the Nile auth service. - While you are there, click on the
PostgreSQLicon and also copy your database url for drizzle to use
Update create-react-router output
Now we must update the output from the default
create-react-router for use with Nile. We want to switch to using node-postgres, and be able to do a top level await for nile configuration.- CLI
- Manual
bash
Add Nile to the server
Now we need to add the nile instance and route handlers to allow our server to respond to authentication, user, and tenant requests.
- CLI
- Manual
Bash
Add Client-Side Code for Authentication
You can use the components from
@niledatabase/react to handle authentication. Replace the boilerplate of the main _index.tsx file with the following:This component will render:- User info and the guest book if the user is signed in.
- Sign-up form if the user is not signed in.
- CLI
- Manual
Bash