
Run create-next-app
This guide uses Next.js with App Router, Typescript and Tailwind CSS. If you have a different framework in mind, you can find additional guides under “Frameworks”
in the sidebar. Initialize a new Next.js project with the following command and give it a name:
Obtain Database Credentials
- If you haven’t signed up for Nile yet, sign up here and follow the steps to create a database.
- Navigate to Database Settings in your database’s UI at console.thenile.dev.
- Go to Connection settings.
- Select the CLI icon, and click Generate credentials
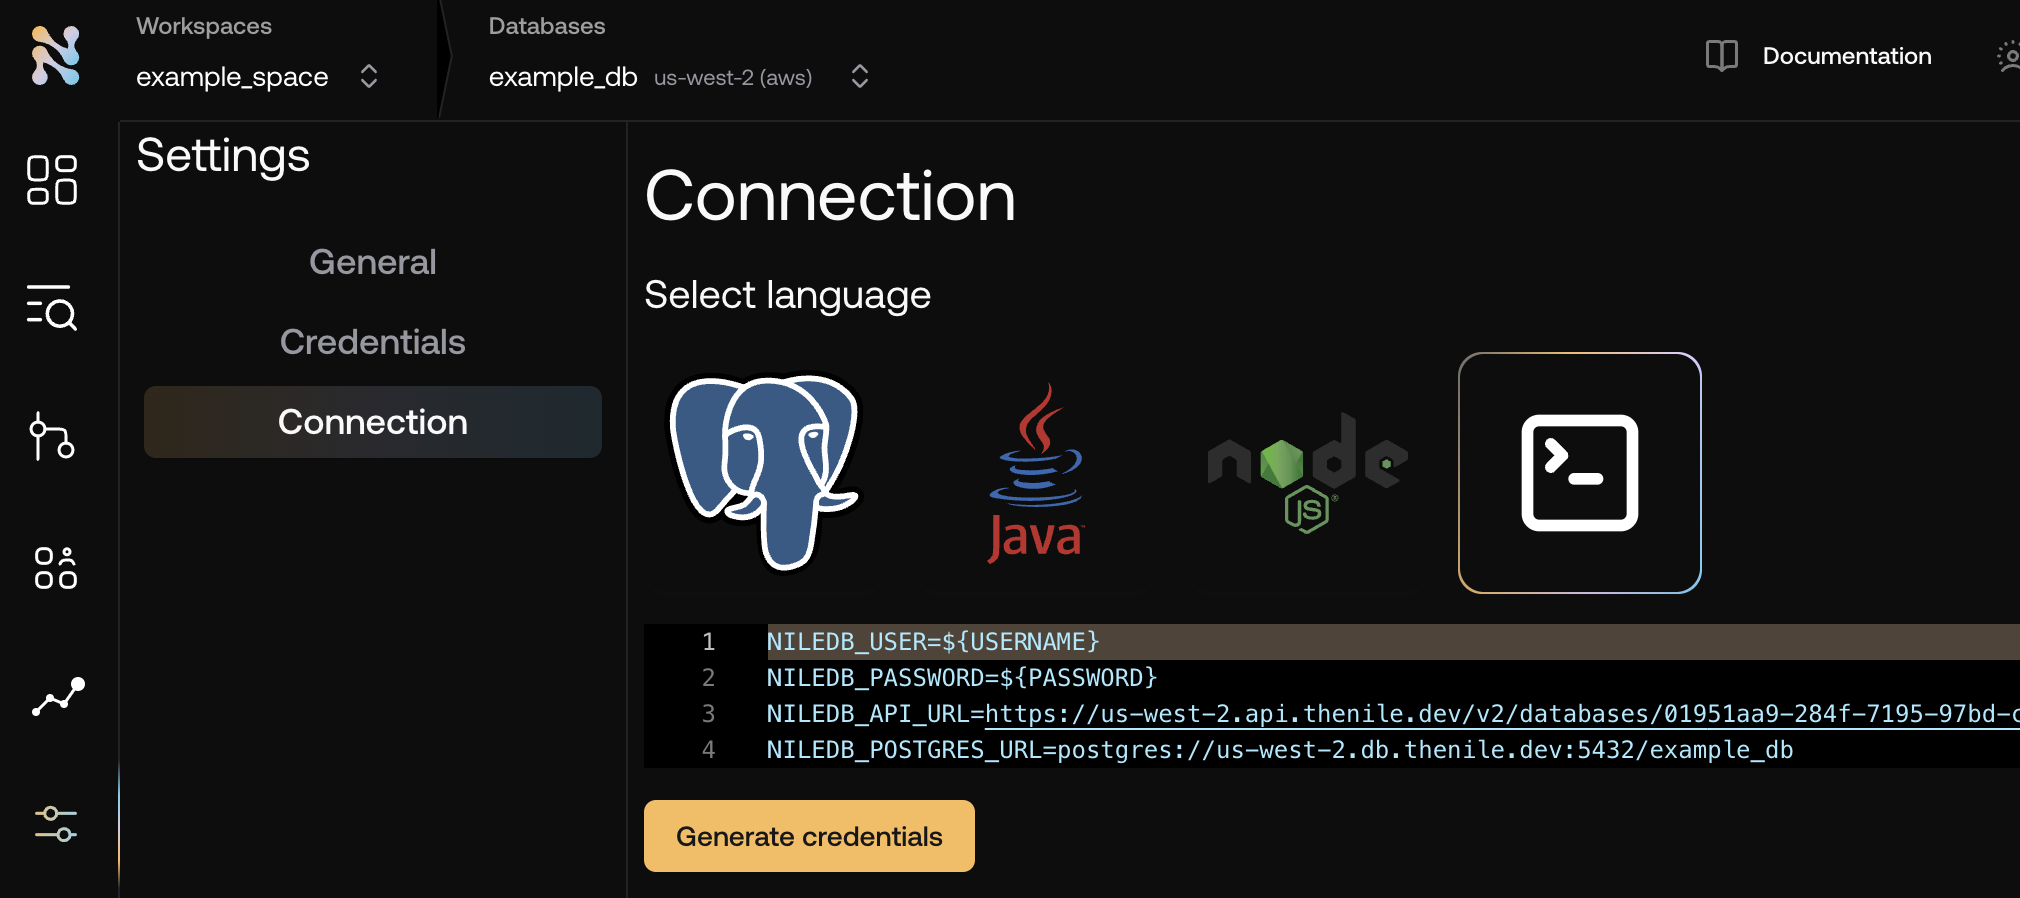
- Copy the required credentials and store them in an
.envfile so they can be used in the application to connect to the Nile auth service..env
Your application must expose API routes to handle authentication operations.Create a folder called Create following files handle the calls to your server, as well as expose the
api under the app folder and a folder called [...nile] under it:nile instance to your application:app/api/[...nile]/nile.ts
app/api/[...nile]/route.ts
Use SDK Components
Your application will interact with above authentication routes using SDK components. Replace the boilerplate
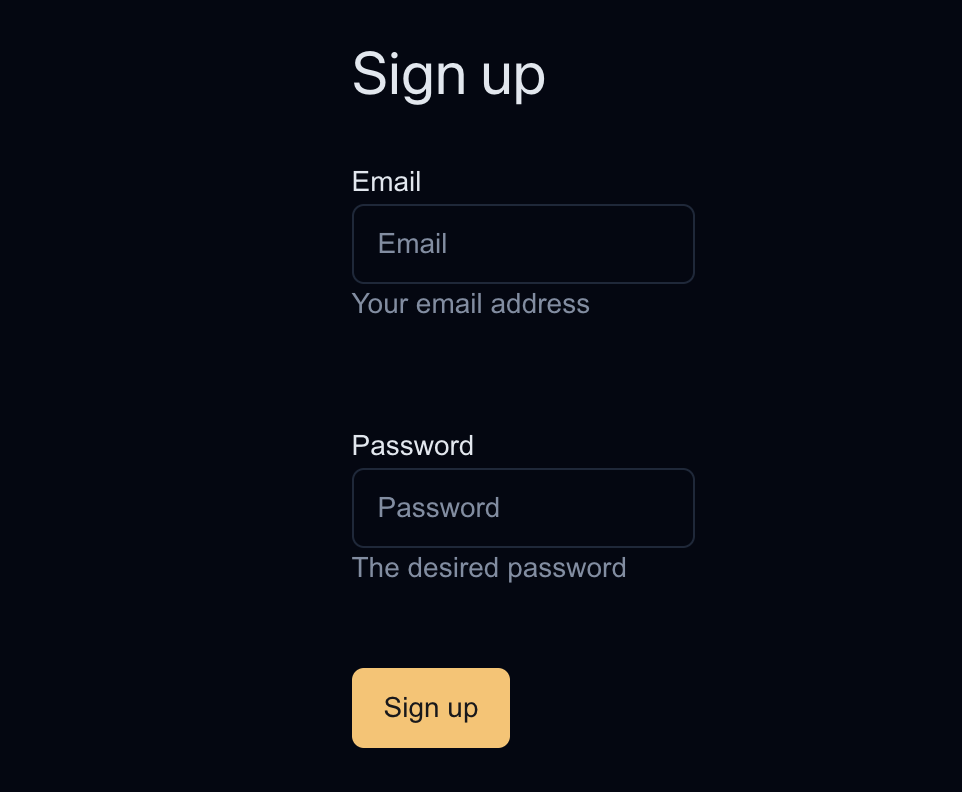
app/page.tsx with the following:/app/page.jsxRun and Log in to your application
Bonus: Explore in Nile Console
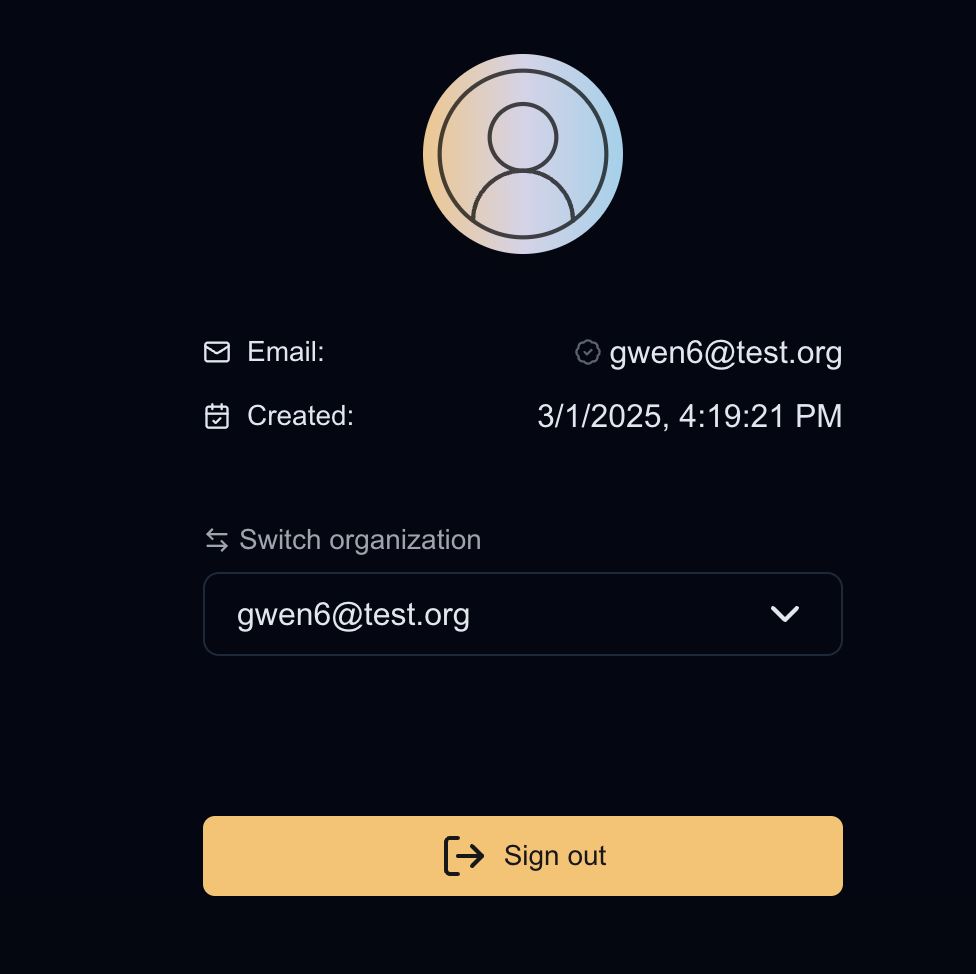
You can explore the database and the tenant management dashboard in the Nile console.You should see a new organization and new user created in the “Tenants and Users” section.
You can also navigate the the query editor and view the user and tenats in the database tables directly by running:If you are feeling adventurous, you can try to replace the default user photo in their profile by running:You should see the user photo updated in the user profile in your application.