
Overview
Magic Link authentication flow:- User enters their email address
- They receive a secure link with an authentication token via email. The token is valid for 4 hours by default and is saved in the
auth.verification_tokenstable in your database. - Clicking the link automatically exchanges the token for a session, logs them into your application and redirects them to the
callbackUrlconfigured in thesigncomponent.
Implementation Steps
Obtain Database Credentials
- If you haven’t signed up for Nile yet, sign up here and follow the steps to create a database.
- Navigate to Database Settings in your database’s UI at console.thenile.dev.
- Go to Connection settings.
- Select the CLI icon, and click Generate credentials
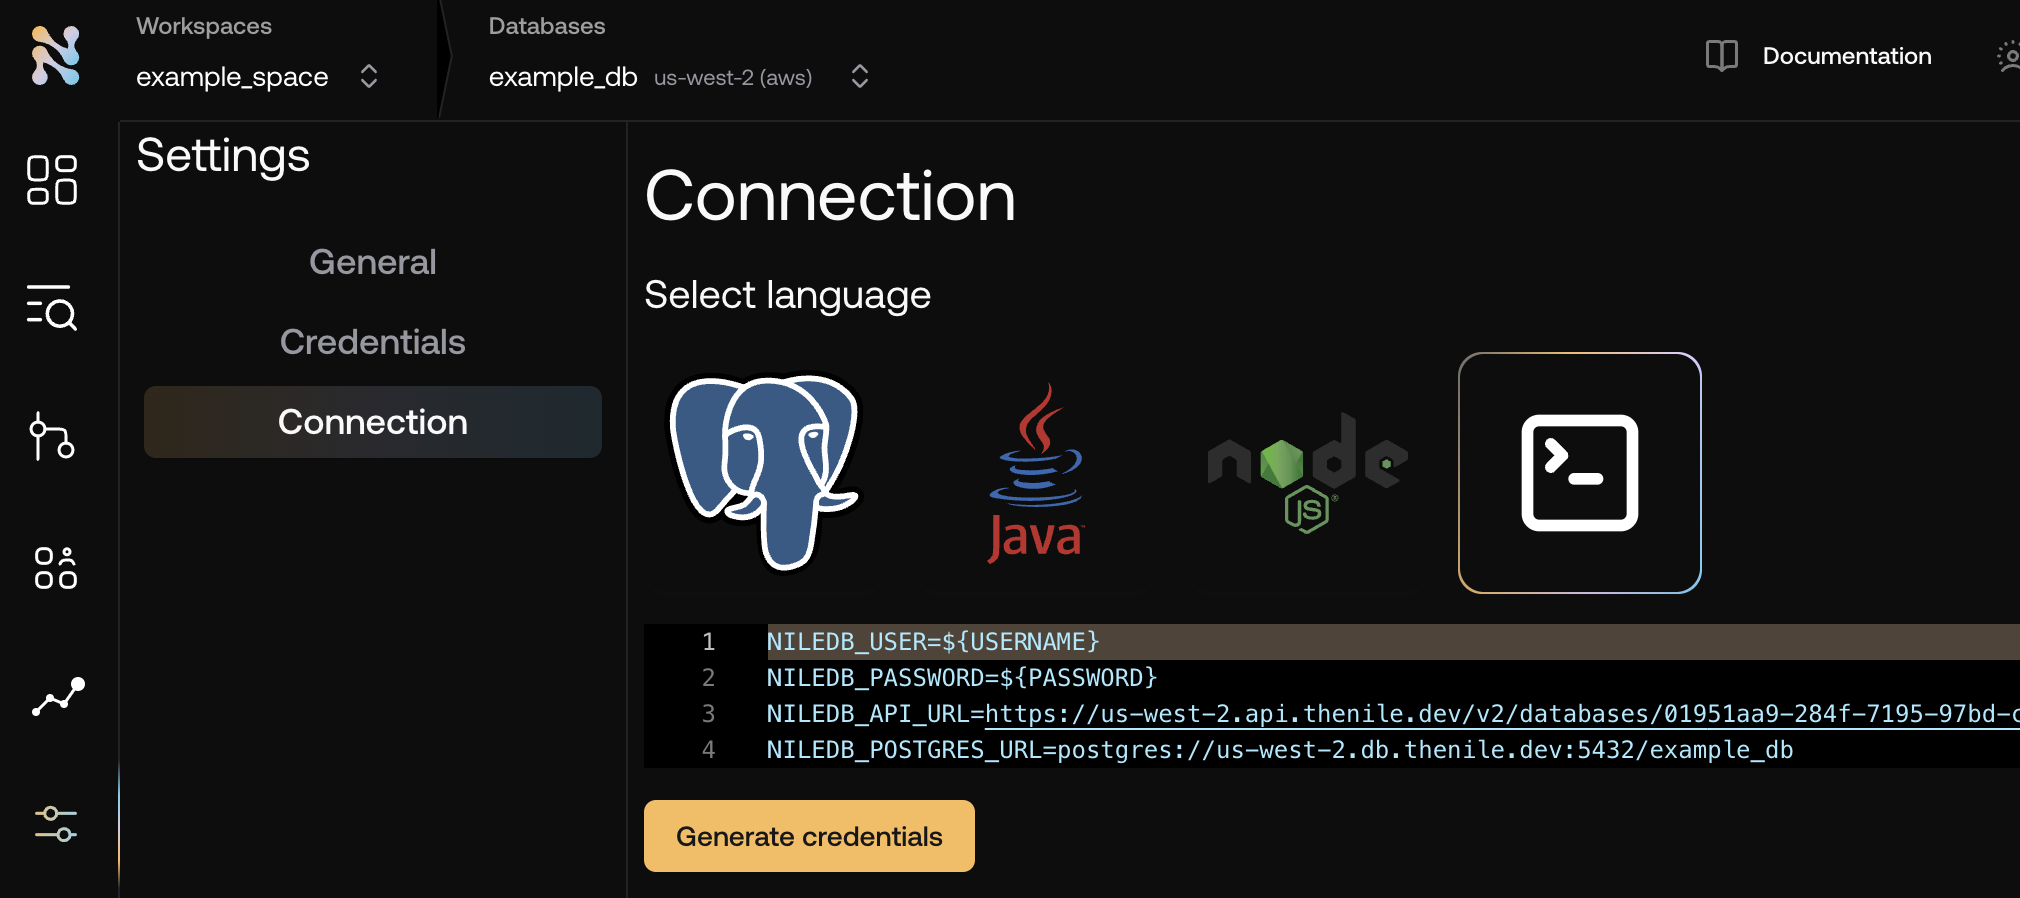
- Copy the required credentials and store them in an
.envfile so they can be used in the application to connect to the Nile auth service..env
Configure Email Settings
Ensure you have configured your email settings in the Nile Dashboard. You’ll need a valid
SMTP provider configured to send emails from your
application, and email templates configured for the magic link.
Enable Passwordless Login
Click on Providers tab under Configure. Under Email, enable passwordless login.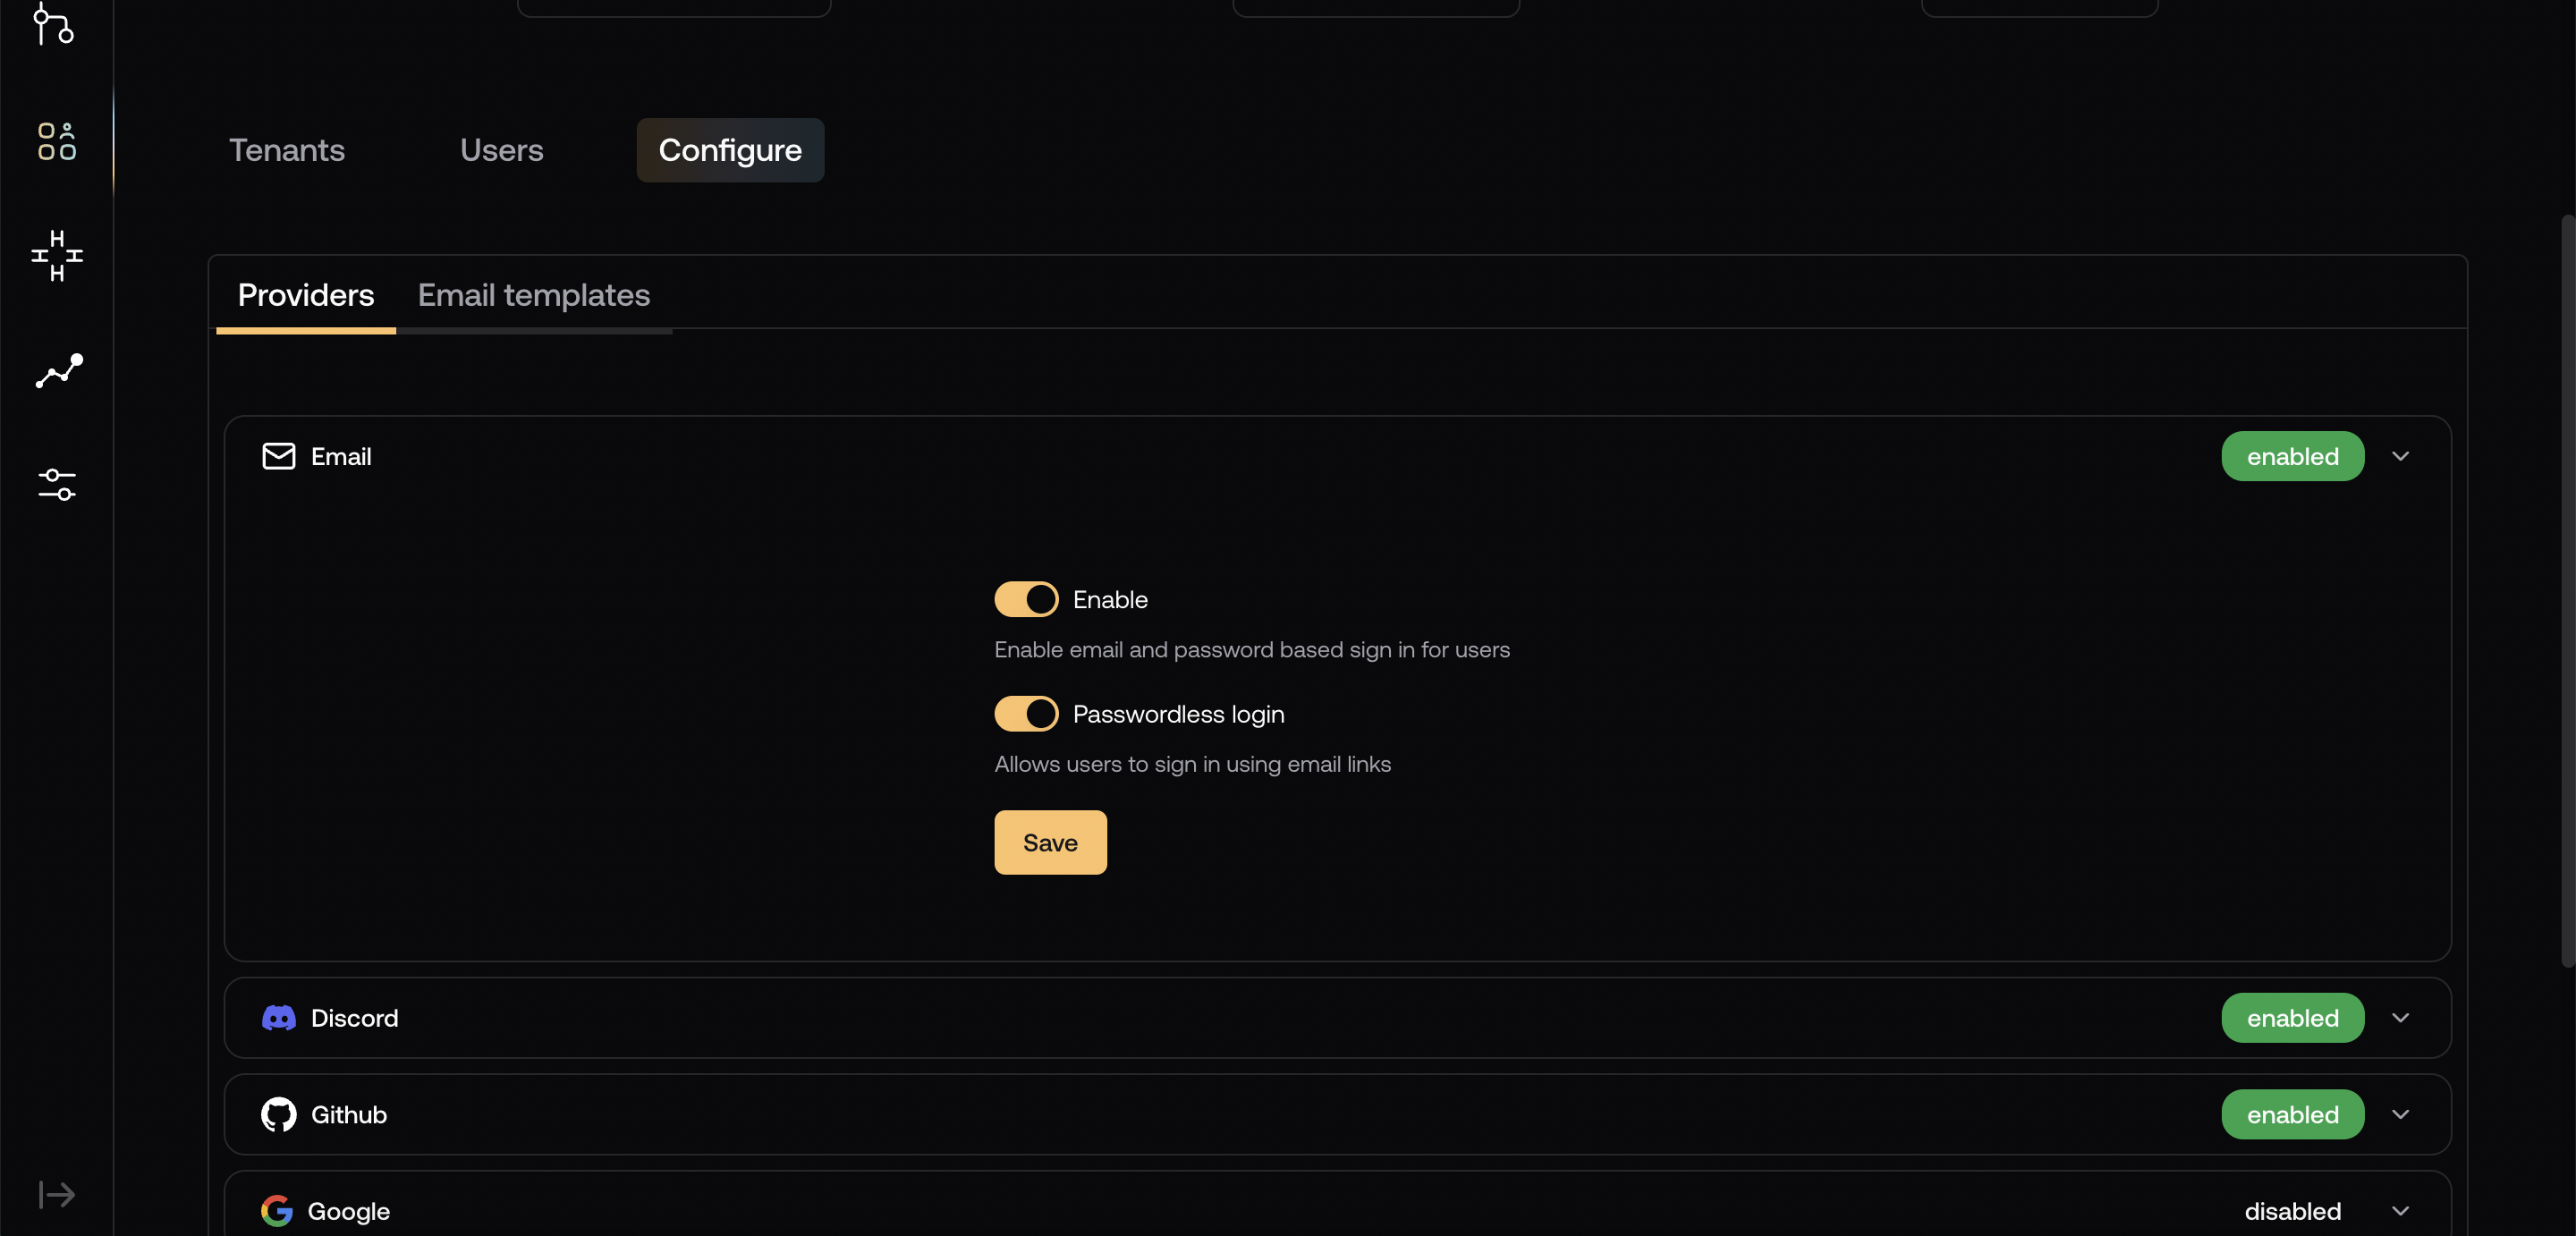
Run create-next-app
This guide uses Next.js with App Router, Typescript and Tailwind CSS. If you have a different framework in mind, you can find additional guides under “Frameworks”
in the sidebar. Initialize a new Next.js project with the following command and give it a name:
Your application must expose API routes to handle authentication operations.Create a folder called Create following files handle the calls to your server, as well as expose the
api under the app folder and a folder called [...nile] under it:nile instance to your application:app/api/[...nile]/nile.ts
app/api/[...nile]/route.ts