
1. Create a database
- Sign up for an invite to Nile if you don’t have one already
- You should see a welcome message. Click on “Lets get started”
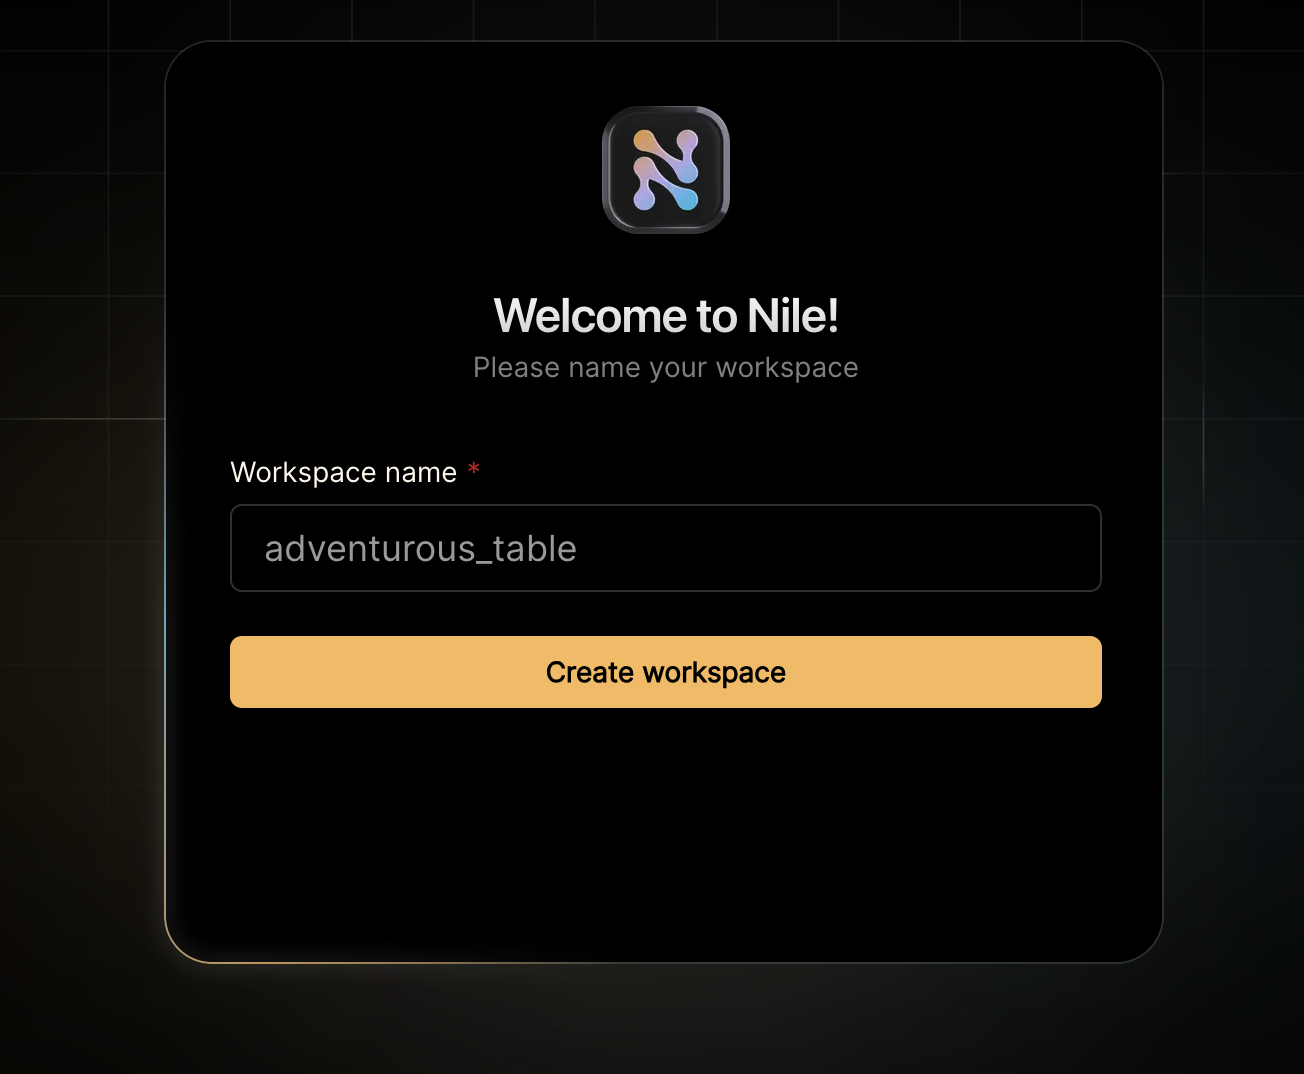
- Give your workspace and database names, or you can accept the default auto-generated names. In order to complete this quickstart in a browser, make sure you select to “Use Token in Browser”.
2. Extend the tenant table
After you created a database, you will land in Nile’s query editor. Stripe integration requires storing customer and subscription IDs. For that, we’ll extend the built-intenants table:
3. Get credentials
In the left-hand menu, click on “Settings” and then select “credentials”. Generate credentials and keep them somewhere safe. These give you access to the database. Also, copy and save the workspace and database names. You’ll need them later.4. Sign up to Stripe and Create a Product
- Sign up for a Stripe account
- Go to the Stripe Dashboard and click on “Developers” -> “API Keys”, on the upper right corner.
- Copy the “Secret Key” and “Publishable Key” and keep them somewhere safe. You’ll need them later.
- On the left menu, click on “more +” and select “Product Catalog”. Add a new product, and make sure you select “Recurring” as the pricing model. You can use the default values for the rest of the fields.
4. Set the environment
Enough GUI for now. Let’s get to some code. If you haven’t cloned this repository yet, now will be an excellent time to do so..env.local.example to .env.local, and update it with your workspace and database name.
(Your workspace and database name are displayed in the header of the Nile dashboard.)
Also fill in the username and password with the credentials you picked up in the previous step.
It should look something like this:
5. Run the application
node -v.
Open http://localhost:3000 with your browser to see the result.
If all went well, your browser should show you the first page in the app, asking you to login or sign up.
After you sign up as a user of this example app, you’ll be able to see this user by going back to Nile Console and looking at the users table
4242 4242 4242 4242),
and see the changes in the database:
7. How does it work?
There are a few moving pieces here, so let’s break it down. This example uses NextJSapp router, so the application landing page is in app/page.tsx.
We’ll start here and go over the code for managing tenant subscriptions.
7.1. Configuring Nile SDK
All the signup and login methods eventually route users to/tenants. You’ll find the code in app/tenants/page.tsx.
The first thing we do in this page is to configure Nile SDK for the current user:
nile that is used throughout the application.
This instance is a singleton, which you get by calling Nile SDK’s Server method, which we are doing in ’@/lib/NileServer’
This is also where all the environment variables we’ve set earlier are being used, so lets take a look at this file:
basePath configuration is the URL that nile methods will call. This component calls Nile APIs directly, and therefore we set basePath to NEXT_PUBLIC_NILE_API.
So every page, route and function in our app can use the same nile instance to access Nile APIs and DB.
But, we need to make sure we are using the right user and tenant context.
So we call configureNile and pass in the cookies and the tenant ID.
After this point, we can use nile to access the database and APIs, and it will use the right user and tenant context.
7.2 Creating a Paid subscription
When tenants are created, we initially create them in thefree tier. This is done in app/tenants/tenant-actions.tsx:
tier parameter. This is because we want to create the tenant in the default tier, which is free.
We handled that when we extended tenants table with a column for the tenant tier:
app/tenants/[tenantid]/billing/page.tsx :
createCheckoutSession which is a NextJS server action implemented in app/tenants/[tenantid]/billing/checkout-actions.tsx:
- Call Stripe to get the price ID for the product (alternatively you can get it in Stripe’s dashboard and use an environment variable for this).
- Call Stripe’s API to create a checkout session. This is where we pass in the success and cancel URLs. The success URL is a NextJS route that we’ll see in a second. Note that we pass in the tenant ID as a query parameter in the success URL. This lets us identify the tenant when Stripe calls the success URL, and upgrade the correct tenant. The cancel URL simply takes the user back to the billing page.
- Redirect the user to Stripe’s checkout page. It’s URL is part of the session we just created..
7.3 Handling Stripe’s checkout success
When the user completes the checkout process, Stripe will call the success URL we passed in earlier. This is a NextJS route, implemented inapp/api/checkout-success/page.tsx.
This is where we upgrade the tenant to a paid tier and store his customer and subscription references in our tenants table:
- First we call Stripe to get the checkout session. This is where we get the customer ID and subscription ID.
- Then we get an instance of the tenantDB using the tenant ID, which we cleverly asked Stripe to provide when calling this route.
- Finally, we update the tenant’s row in the
tenantstable with the customer and subscription IDs, and upgrade the tenant to thebasictier.
7.4 Managing subscriptions
We use Stripe’s customer dashboard to let users manage their subscriptions. To direct users to the dashboard, we use Stripe’scustomer_portal API. This is implemented in app/tenants/[tenantid]/billing/checkout-actions.tsx:
tenants table, and then call Stripe’s API to create a portal session.
We then redirect the user to the portal session URL, which takes the user to the customer dashboard.
7.5 Downgrading a tenant
A tenant who is subscribed to the “basic” tier can downgrade to the “free” tier. This is implemented inapp/tenants/[tenantid]/billing/checkout-actions.tsx:
cancel API and cancel the subscription.
If this step succeeds, we downgrade the tenant in our database.