Using Netlify and Nile together
Netlify supports deployment of various web frameworks and of serverless functions. Nile’s serverless database is a great fit for frameworks like NextJS and for Netlify serverless functions. Together they can be used to build B2B applications that are entirely serverless. With Nile’s tenant virtualization, you can store private data and embeddings for each of your customers in a secure and scalable manner. In this example, we’ll show you how we deploy a NextJS application to Netlify that uses Nile as a database.Setting Up Nile
Start by signing up for Nile. Once you’ve signed up for Nile, you’ll be promoted to create your first database. Go ahead and do so. You’ll be redirected to the “Query Editor” pageof your new database. This is a good time to create the table we’ll be using in this example:tenants table that is built-in to Nile.
Note: You can also start by setting up a new Netlify project and enabling the Nile integration from there. If you choose this route, make sure you still create the todos table.
Setting Up Netlify
If you don’t already have a Netlify account, go ahead and create one here. Pretty simple. In your Netlify dashboard, navigate to “Extensions”, choose “Nile” and click on the Tile. You’ll see a page that looks like this: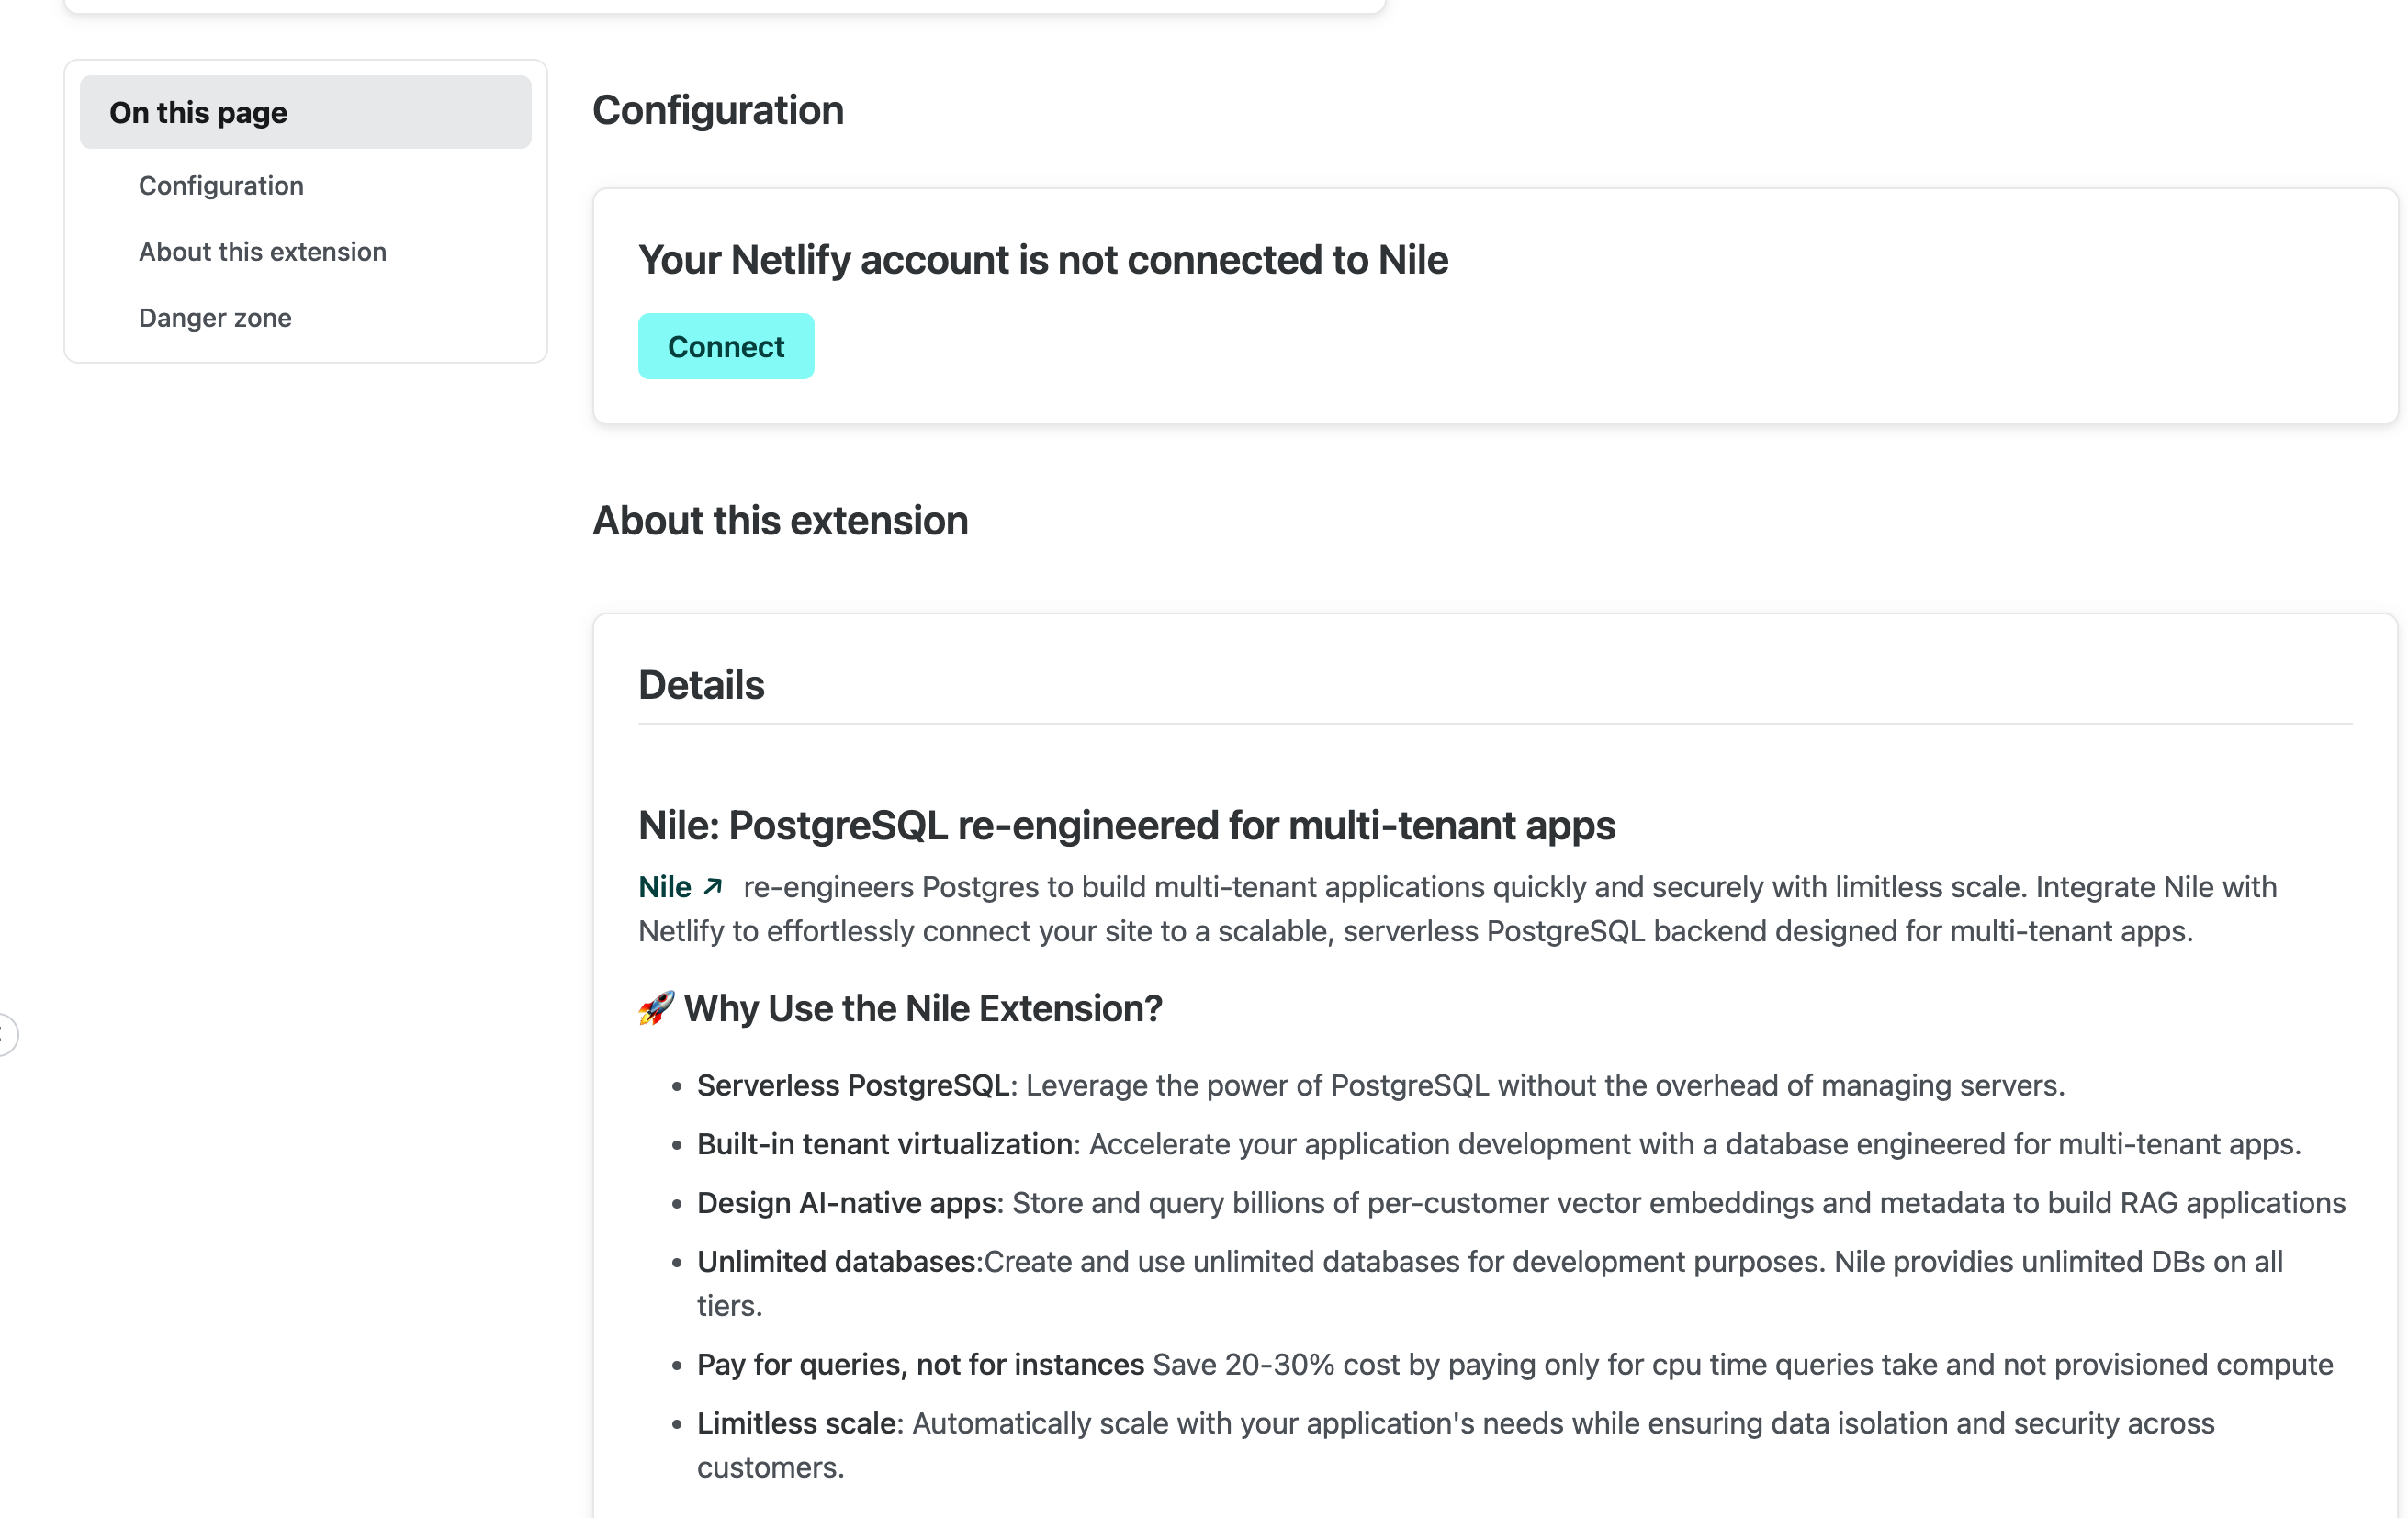
Quickstart
You’ll want to start by forking Nile’s github repo. You can do this by clicking the “Fork” button in the top right corner of the screen. Now that you have your own fork, you have the option to import it to Netlify and configure the deployment using the UI or the CLI. Let’s do it via the UI. In Netlfiy dashboard, navigate to “Sites”, click on “Add new site”, choose “Import existing project” and pick “github”. Authorize Netlify access to your GitHub account and select your fork. Back on Netlfiy, you’ll be asked to choose a name for your project. We chosenile-netlify-todo, but you can choose anything you like.
When choosing “Site to Deploy”, make sure you choose the “main” branch and the “todo-nextjs” site.
This project needs a few environment variables to be set (in addition to the Nile database connection variables that you’ll get automatically from the extension). You can set them here:
NEXT_PUBLIC_APP_URL variable.
And use whatever OpenAI-compatible inference API you like in the AI_API_KEY, AI_BASE_URL and AI_MODEL variables.
Once you set this, click on “Deploy site”.
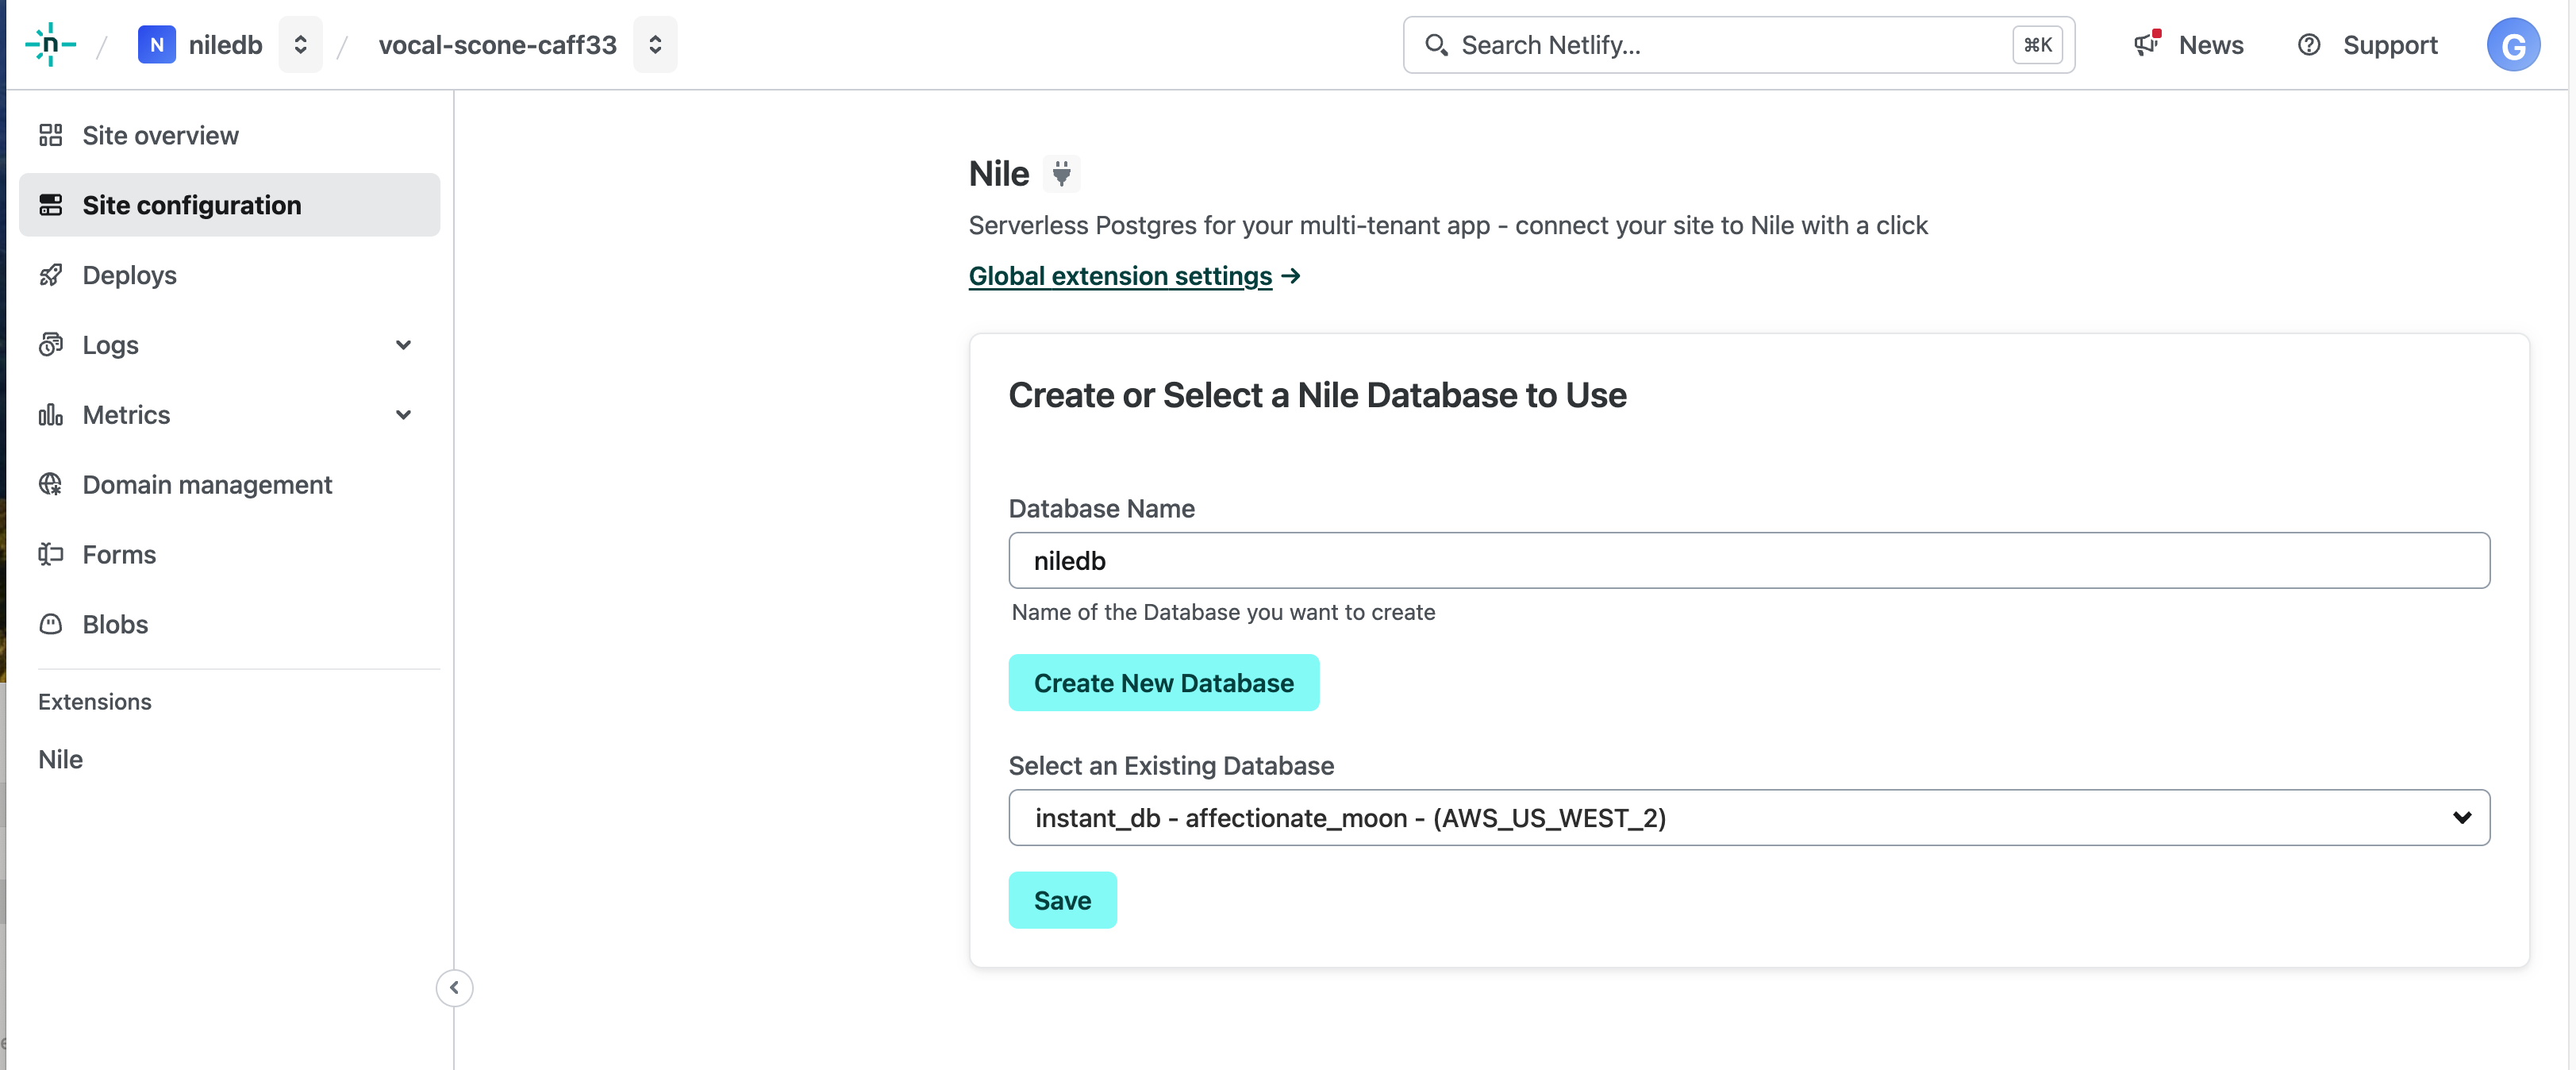
In the Site screen, click on “Site configuration”. Scroll down to “Nile” (or select it on the left hand menu), and pick the database you created earlier.