
1. Create a database
- Sign up for an invite to Nile if you don’t have one already
- You should see a welcome message. Click on “Lets get started”
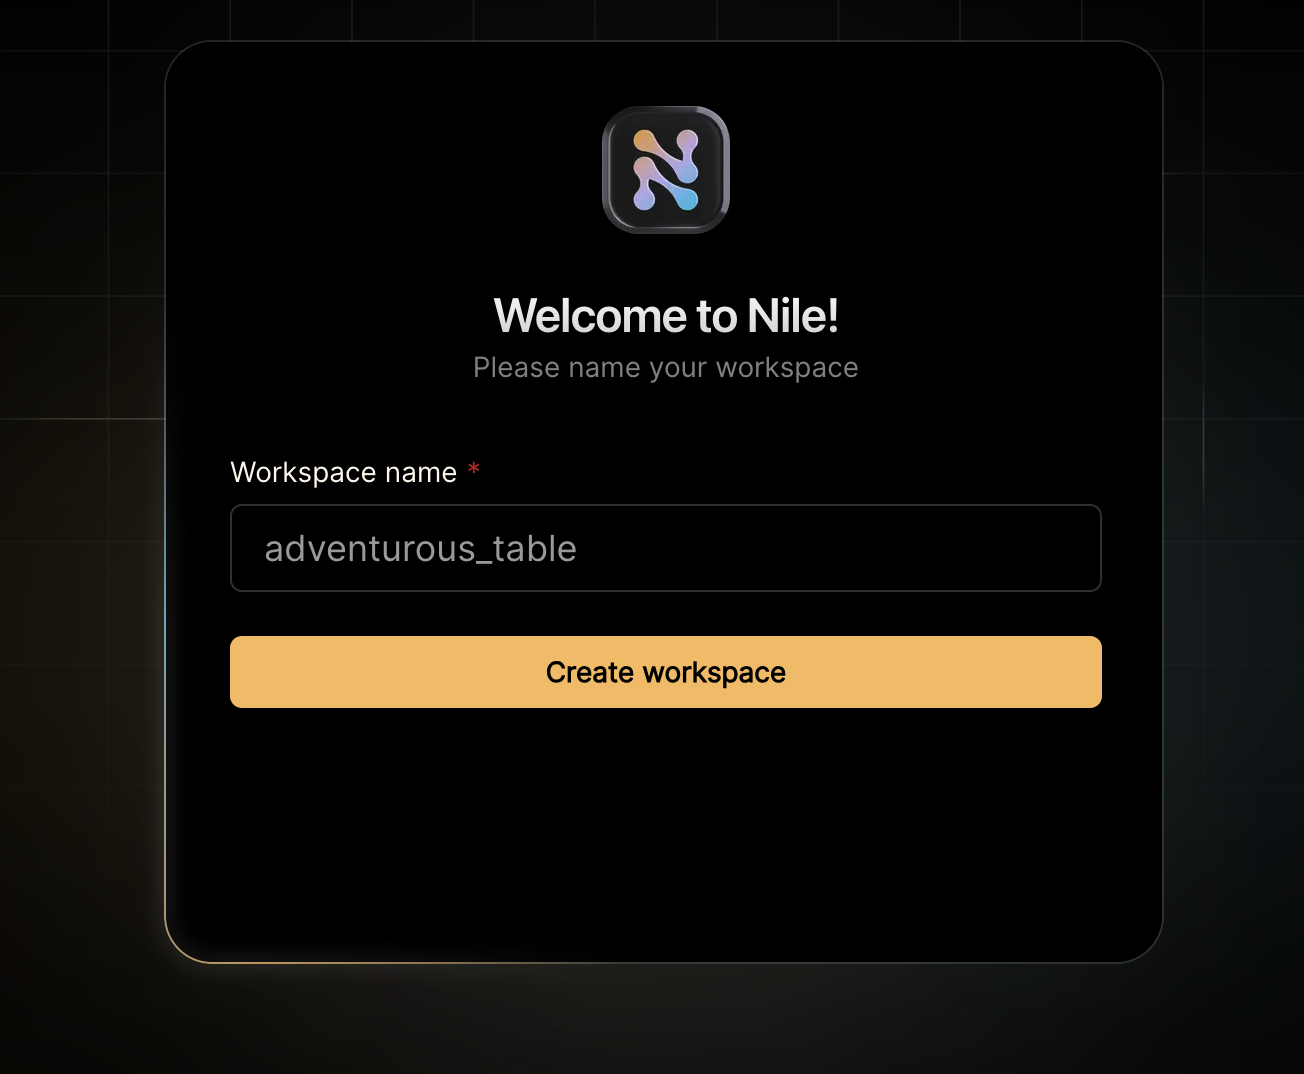
- Give your workspace and database names, or you can accept the default auto-generated names. In order to complete this quickstart in a browser, make sure you select to “Use Token in Browser”.
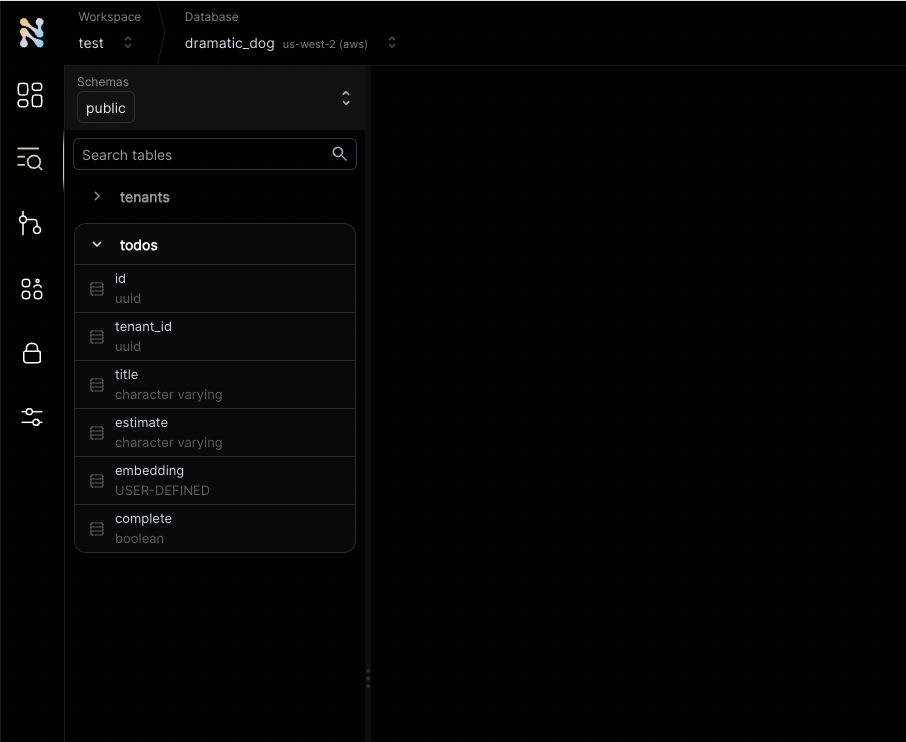
2. Create a table
After you created a database, you will land in Nile’s query editor. Since our application requires a table for storing all the “todos” this is a good time to create one:tenant_id column? By specifying this column, You are making the table tenant aware. The rows in it will belong to specific tenants. If you leave it out, the table is considered shared, more on this later.
3. Get credentials
In the left-hand menu, click on “Settings” and then select “Connection”. Click on the Postgres button, then click “Generate Credentials” on the top right corner. Copy the connection string - it should now contain the credentials we just generated.4. Set the environment
Enough GUI for now. Let’s get to some code. If you haven’t cloned this repository yet, now will be an excellent time to do so..env.example to .env, and update it with the connection string you just copied from Nile Console. Make sure you don’t include the word “psql”. It should look something like this:
serverless.yml and changing the region property.
And if you haven’t yet, install the Serverless Framework: npm install -g serverless
5. Deployment
In order to deploy the example, run the following command:curl to explore the APIs. Here are a few examples:
6. Check the data in Nile
Go back to the Nile query editor and see the data you created from the app.7. How does it work?
In this section we’ll focus on the serverless aspects. If you want to learn more about how to use Nile with Drizzle, check out our Drizzle getting started guide. In order to deploy the backend to AWS Lambda, we use the Serverless Framework. The framework handles most of the configuration and deployment for us, and required minimal changes to the code. The changes we did make:- Wrapped the Express app with a Serverless handler.
- Made sure the database connections is initialized outside the handler with no top level await
- Added a
serverless.ymlfile to the root of the project. This file contains the configuration for the Serverless Framework.
7.1. Wrapping the Express app
In the example, we usedserverless-http NodeJS module, which wraps an Express app with a Serverless handler.
Using it is very straightforward:
7.2. Initializing the database connection
Theserverless-http wrapping above is almost enough to get the application running on AWS Lambda.
However, we need to make sure the database connection is initialized before the handler is called and remains intact between handler executions.
We are initializing the connection in the db.js file, and exporting the connection object.
7.3. The serverless.yml file
Now we just need to configure the deployment and our serverless application is ready to go.
The serverless.yml file contains the configuration for the Serverless Framework and it has 4 important sections.
The first is the general configuration. We set the name of the service, the framework version, and most important - the use of .env file for environment variables.
us-west-2 and include the database connection string in the environment.
The region is important - you want to run your serverless application in the same region as your database. In this case - us-west-2.
serverless-esbuild plugin.