
Dashboard Overview
You can access the tenant management dashboard by navigating to the “Tenants and Users” tab in the left sidebar of Nile Console.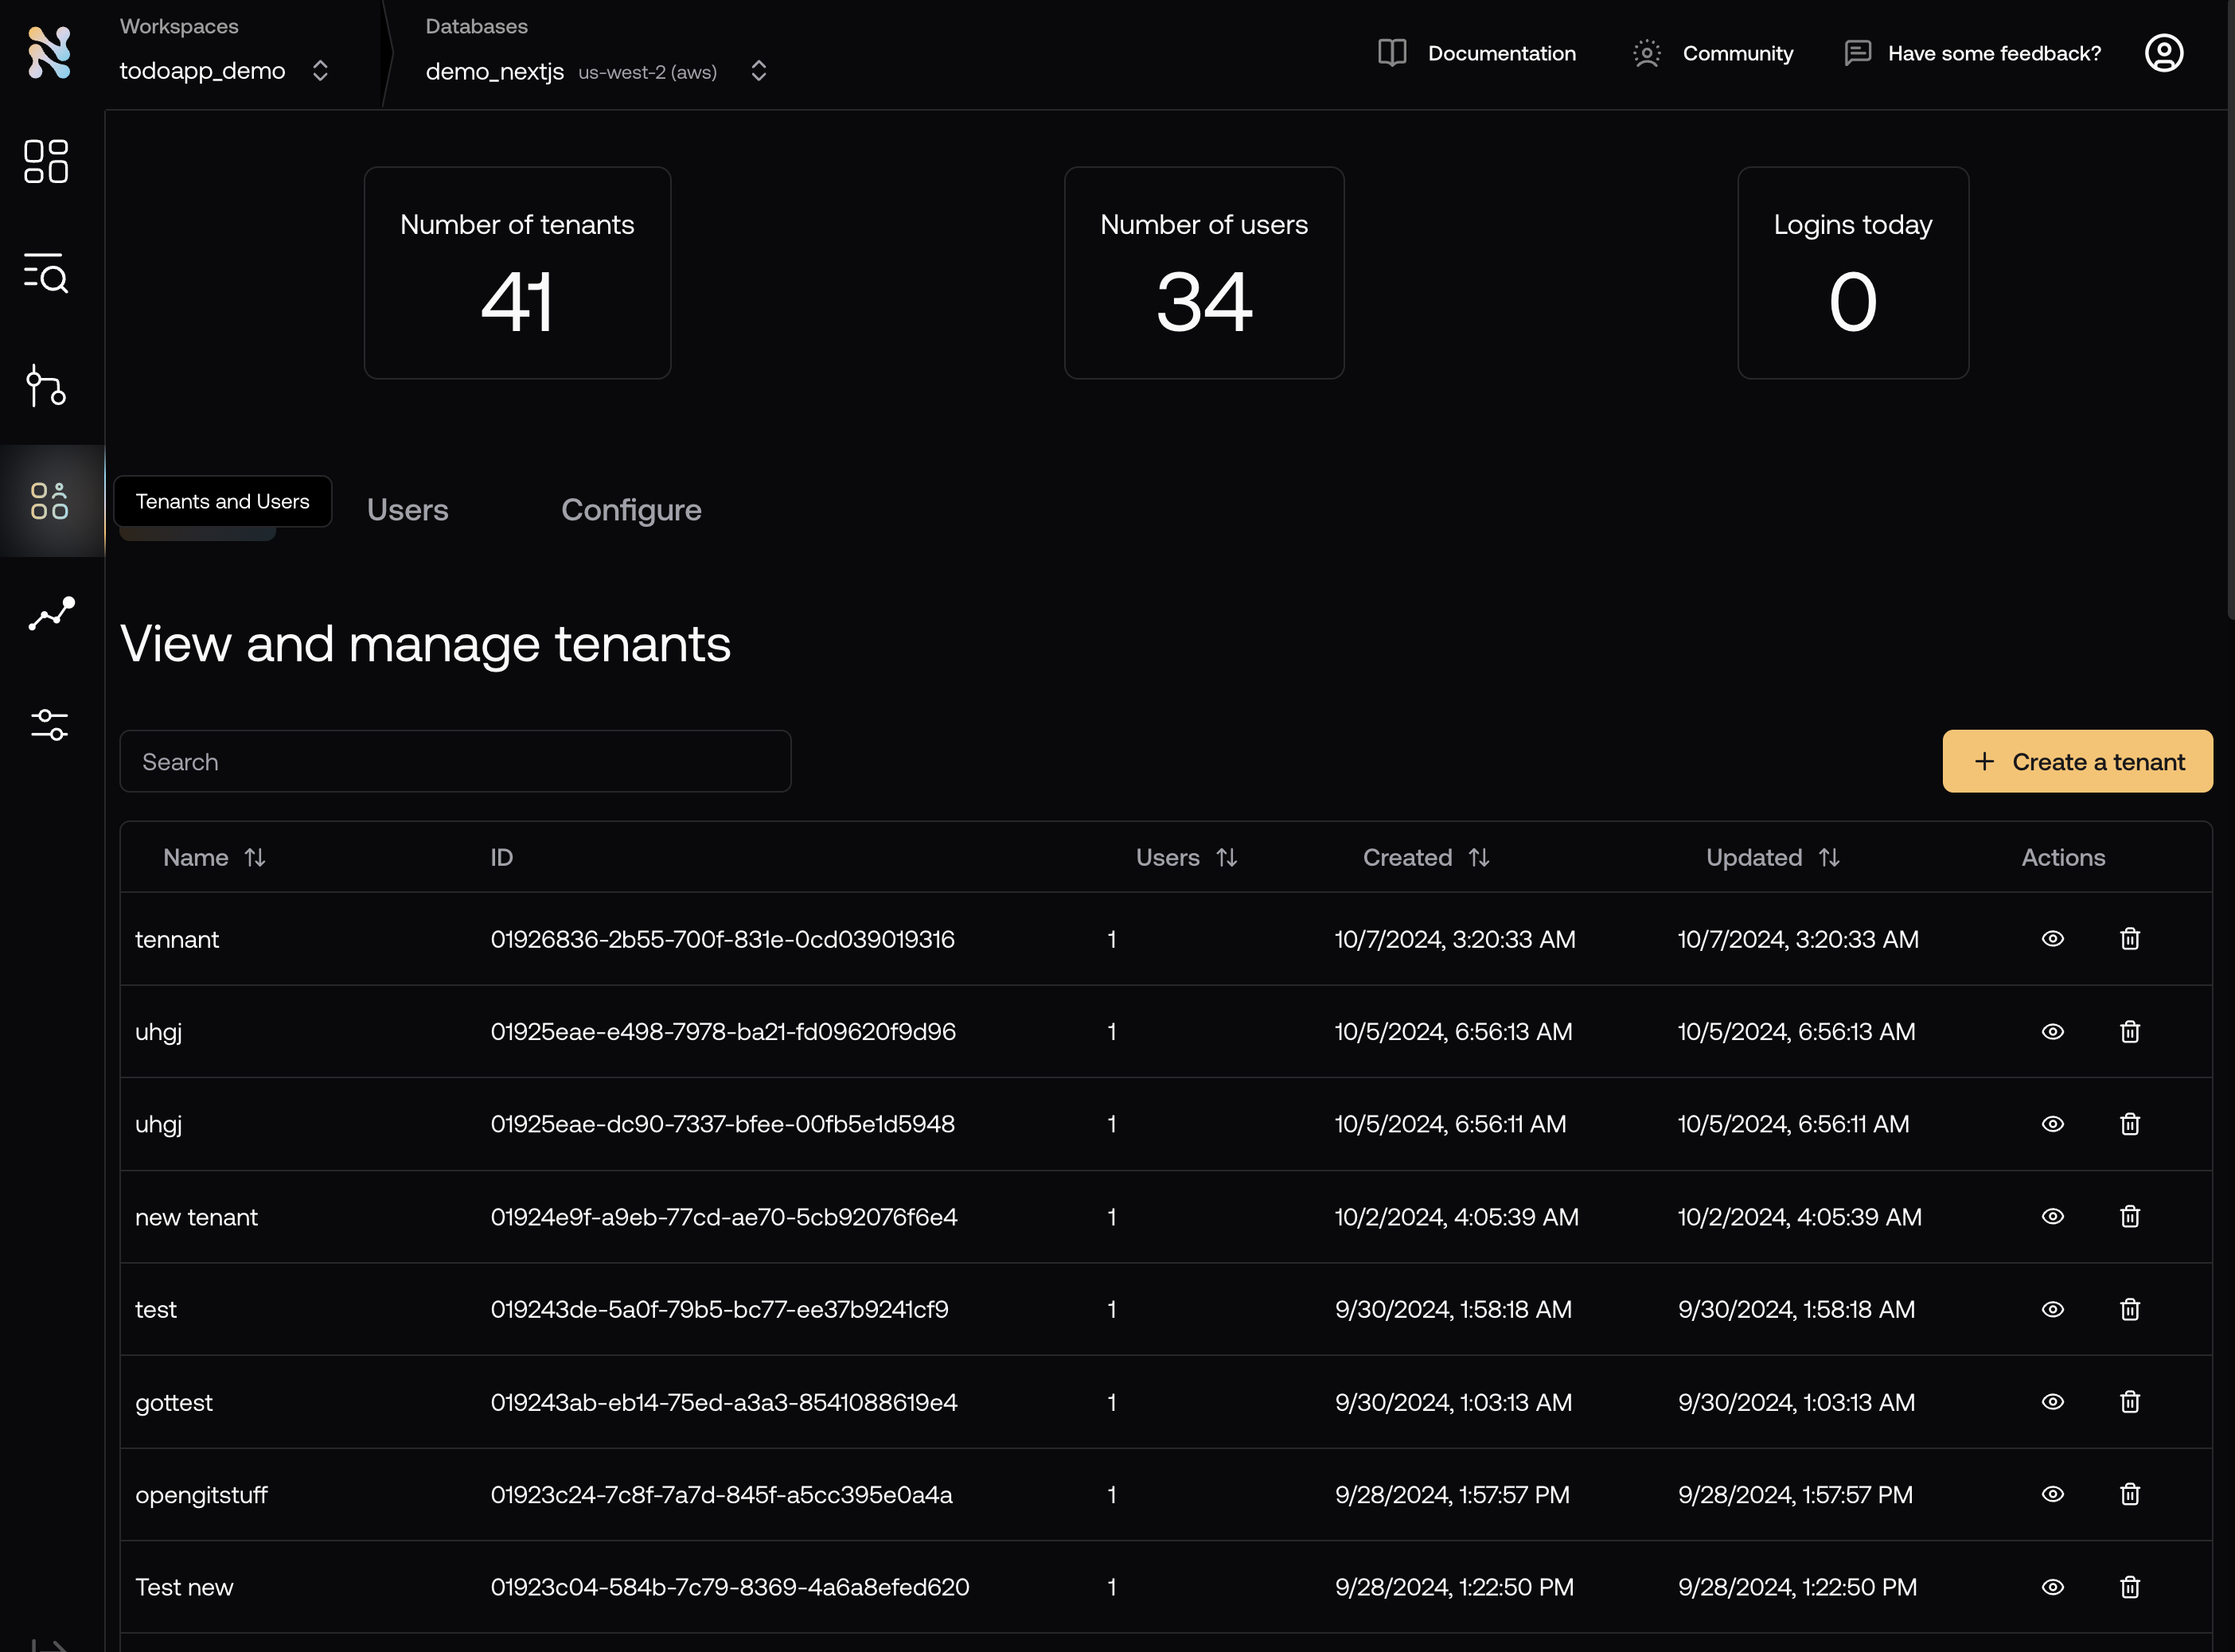
Tenant Management Features
- Creating new tenants
- Editing tenant settings
- Managing tenant users
- Configuring tenant-specific settings
Common Tasks
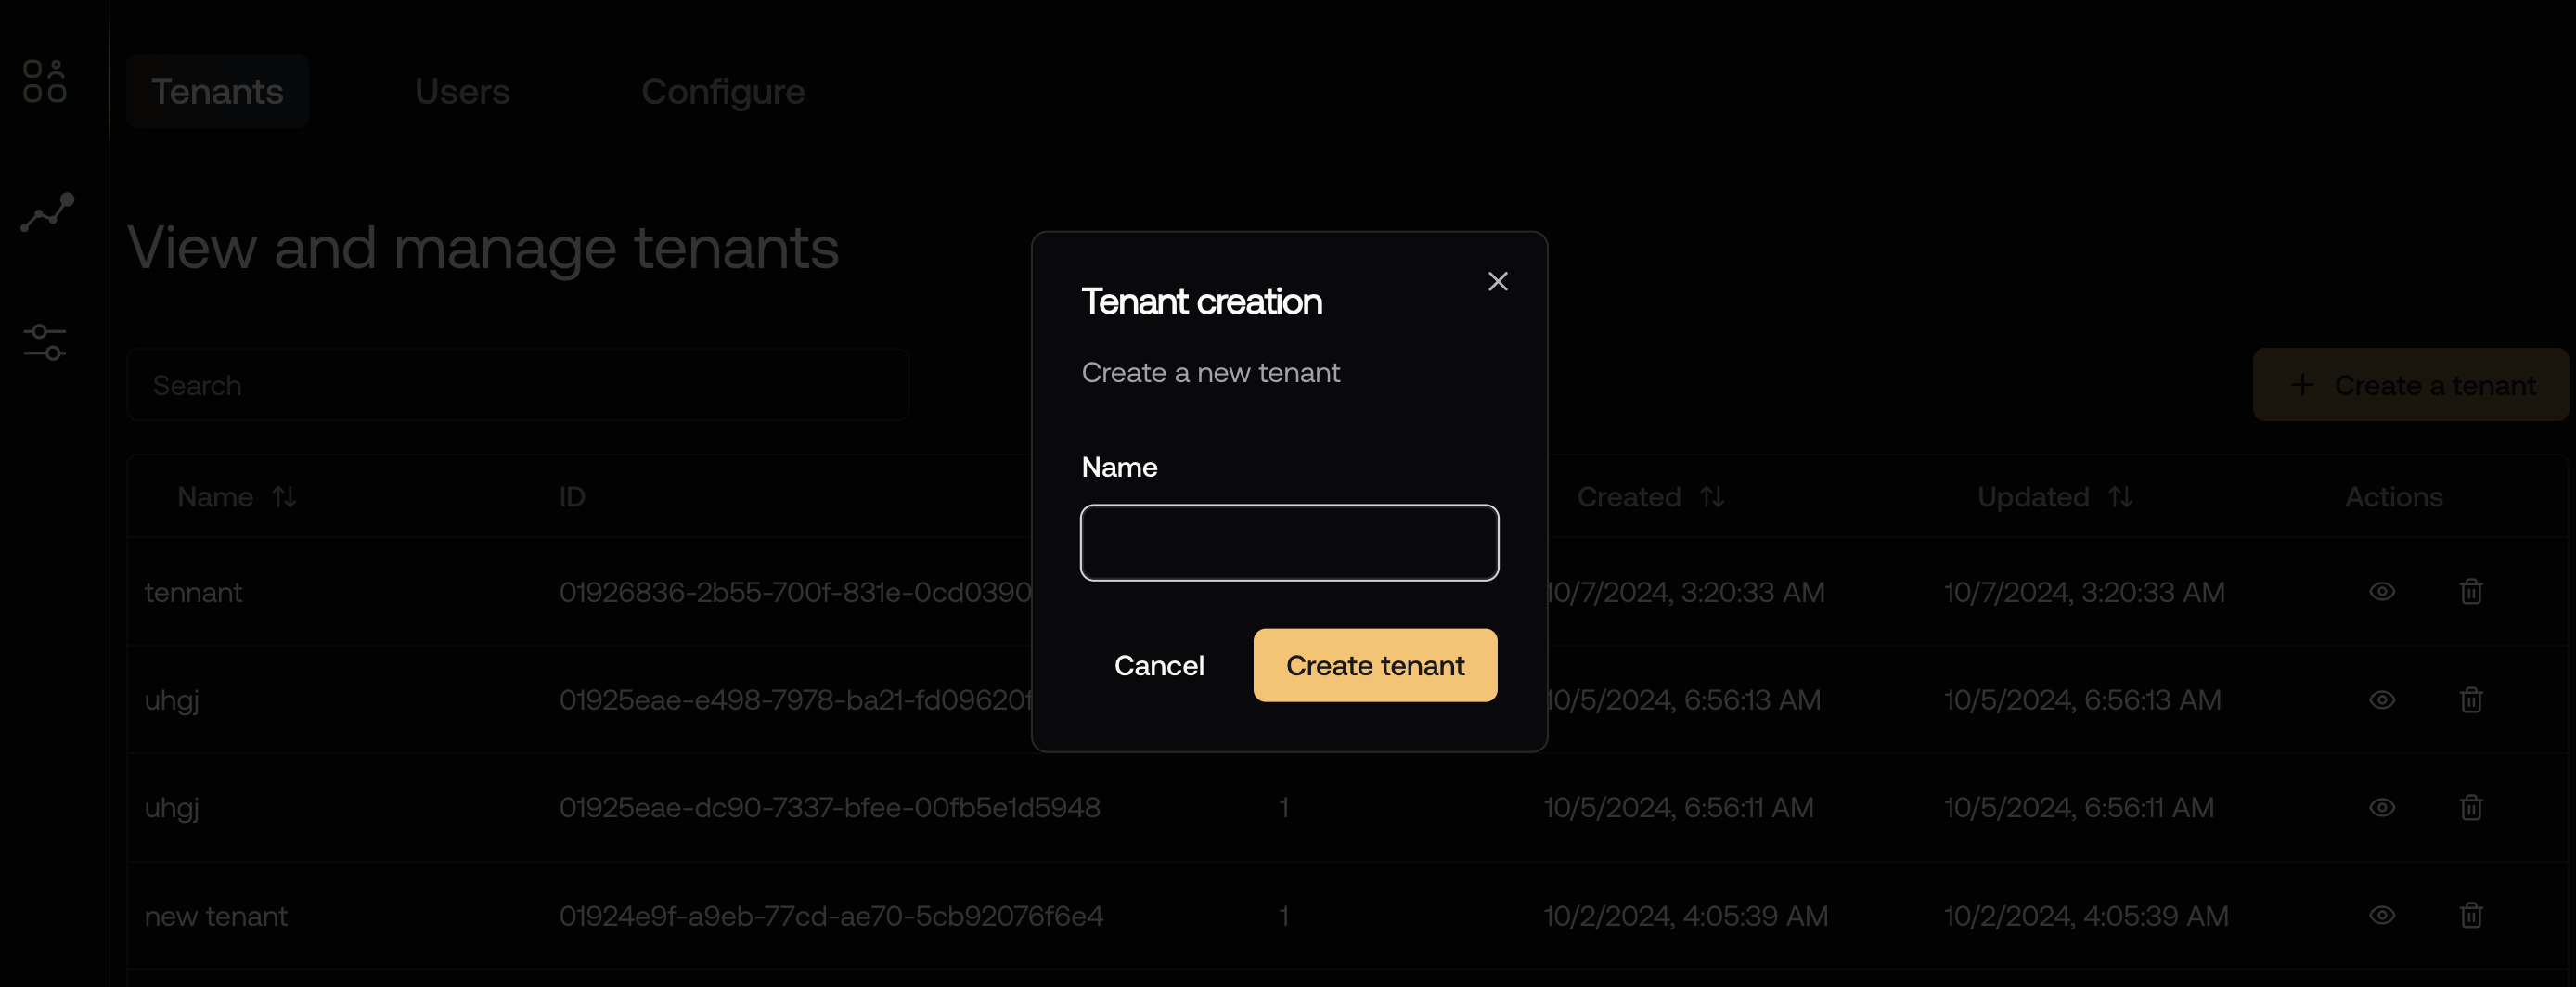
Creating a New Tenant
To create a new tenant, click the “Create Tenant” button in the top right corner of the dashboard. Then fill in the tenant name and click “Create”. This is the equivalent of runninginsert into tenants (name) values ('<tenant_name>') in SQL or nile tenants create --name <tenant_name> in the CLI.
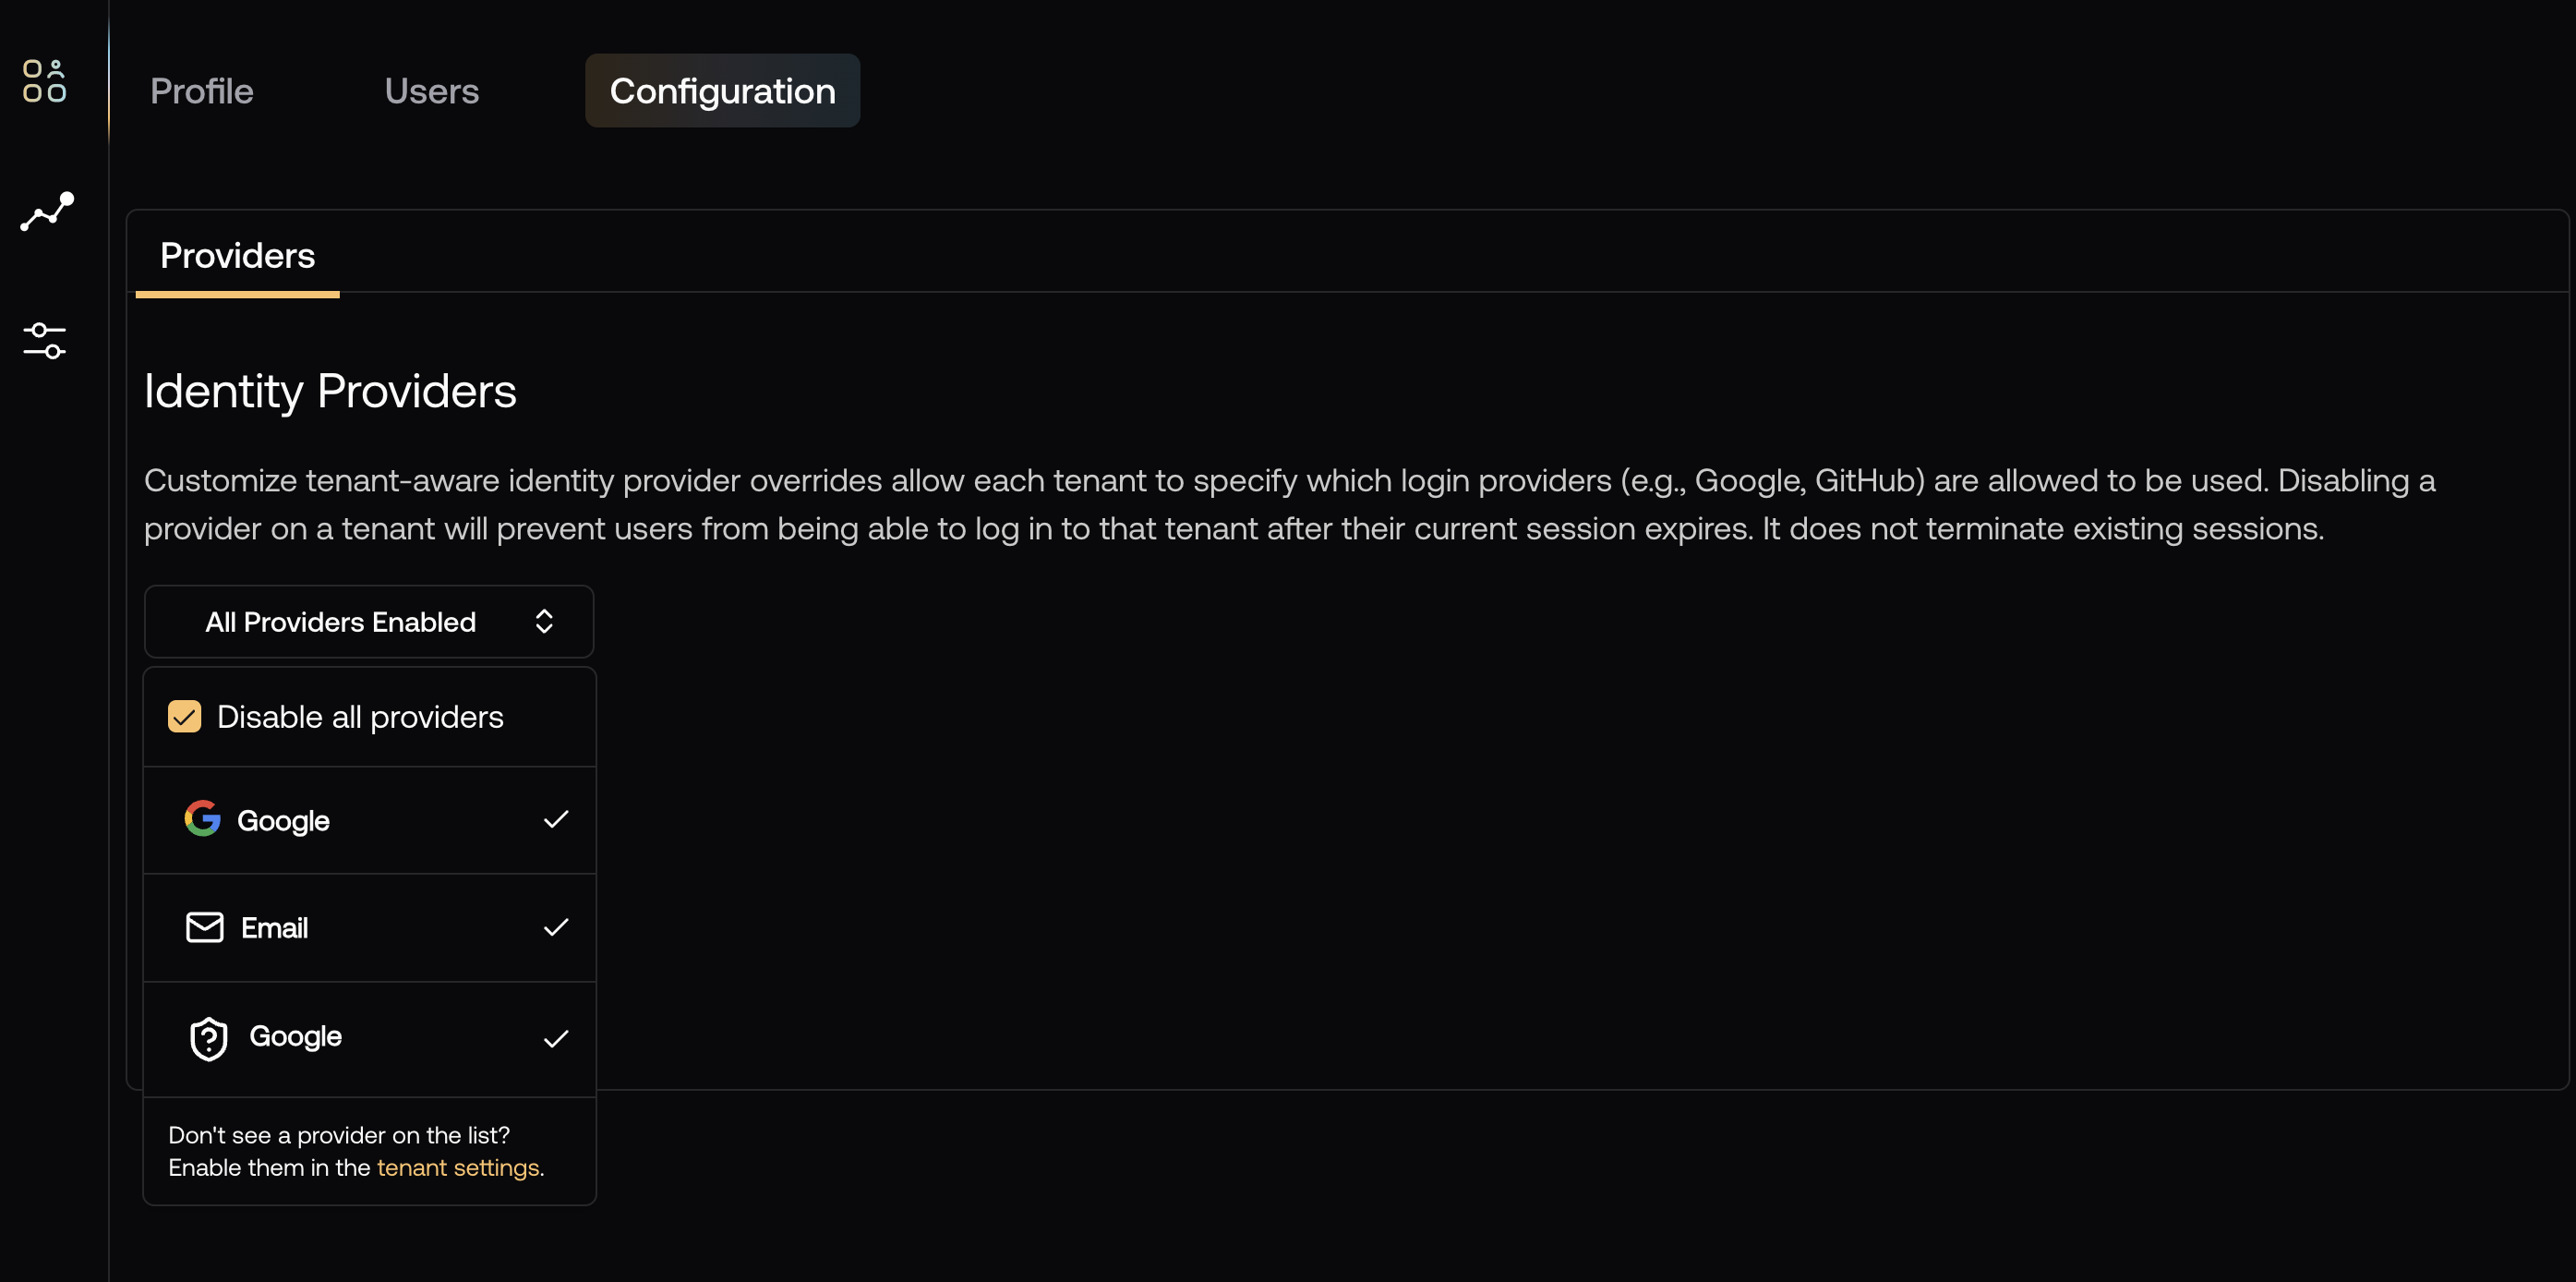
Configuring Tenant Settings
To configure tenant settings, click on the tenant you want to configure. In the “Profile” tab, you can modify the tenant’s name. Simply click on the pencil icon next to the current name and type in the new name.
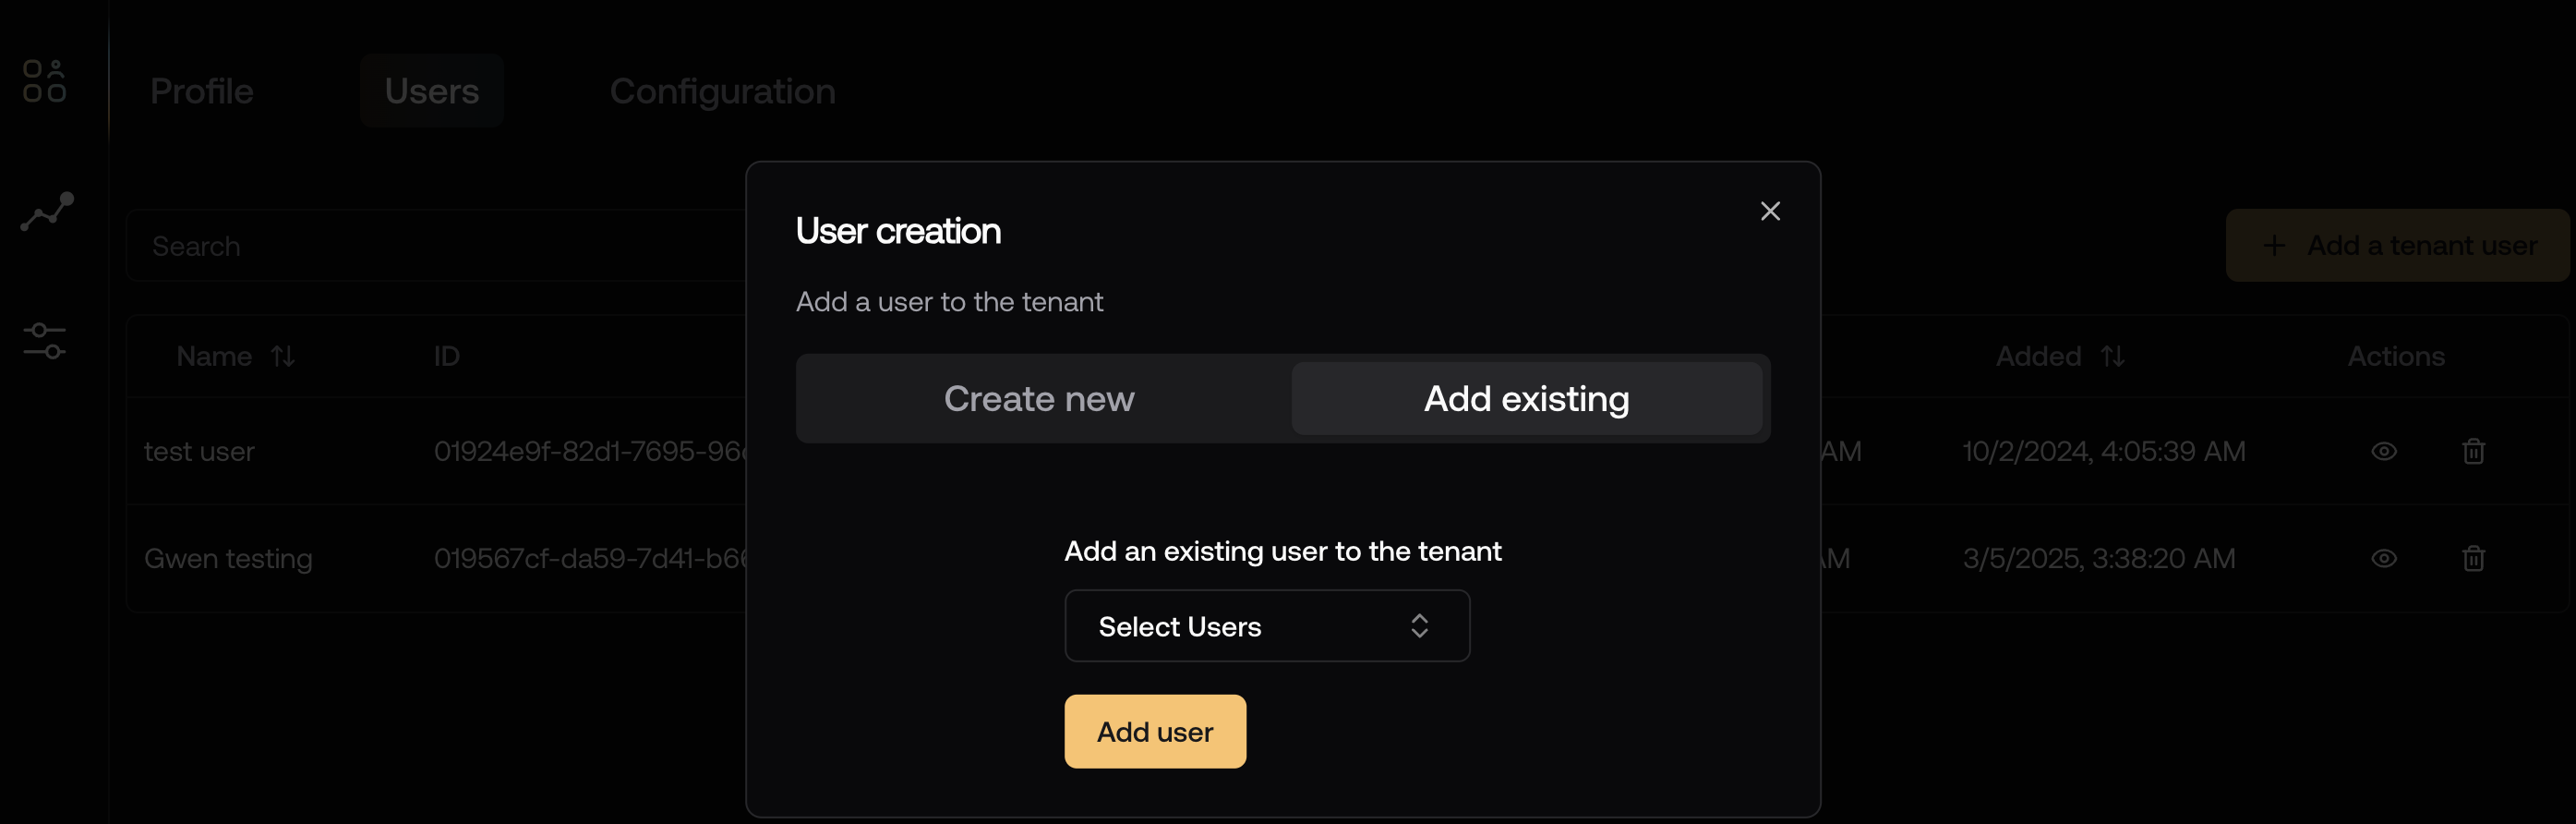
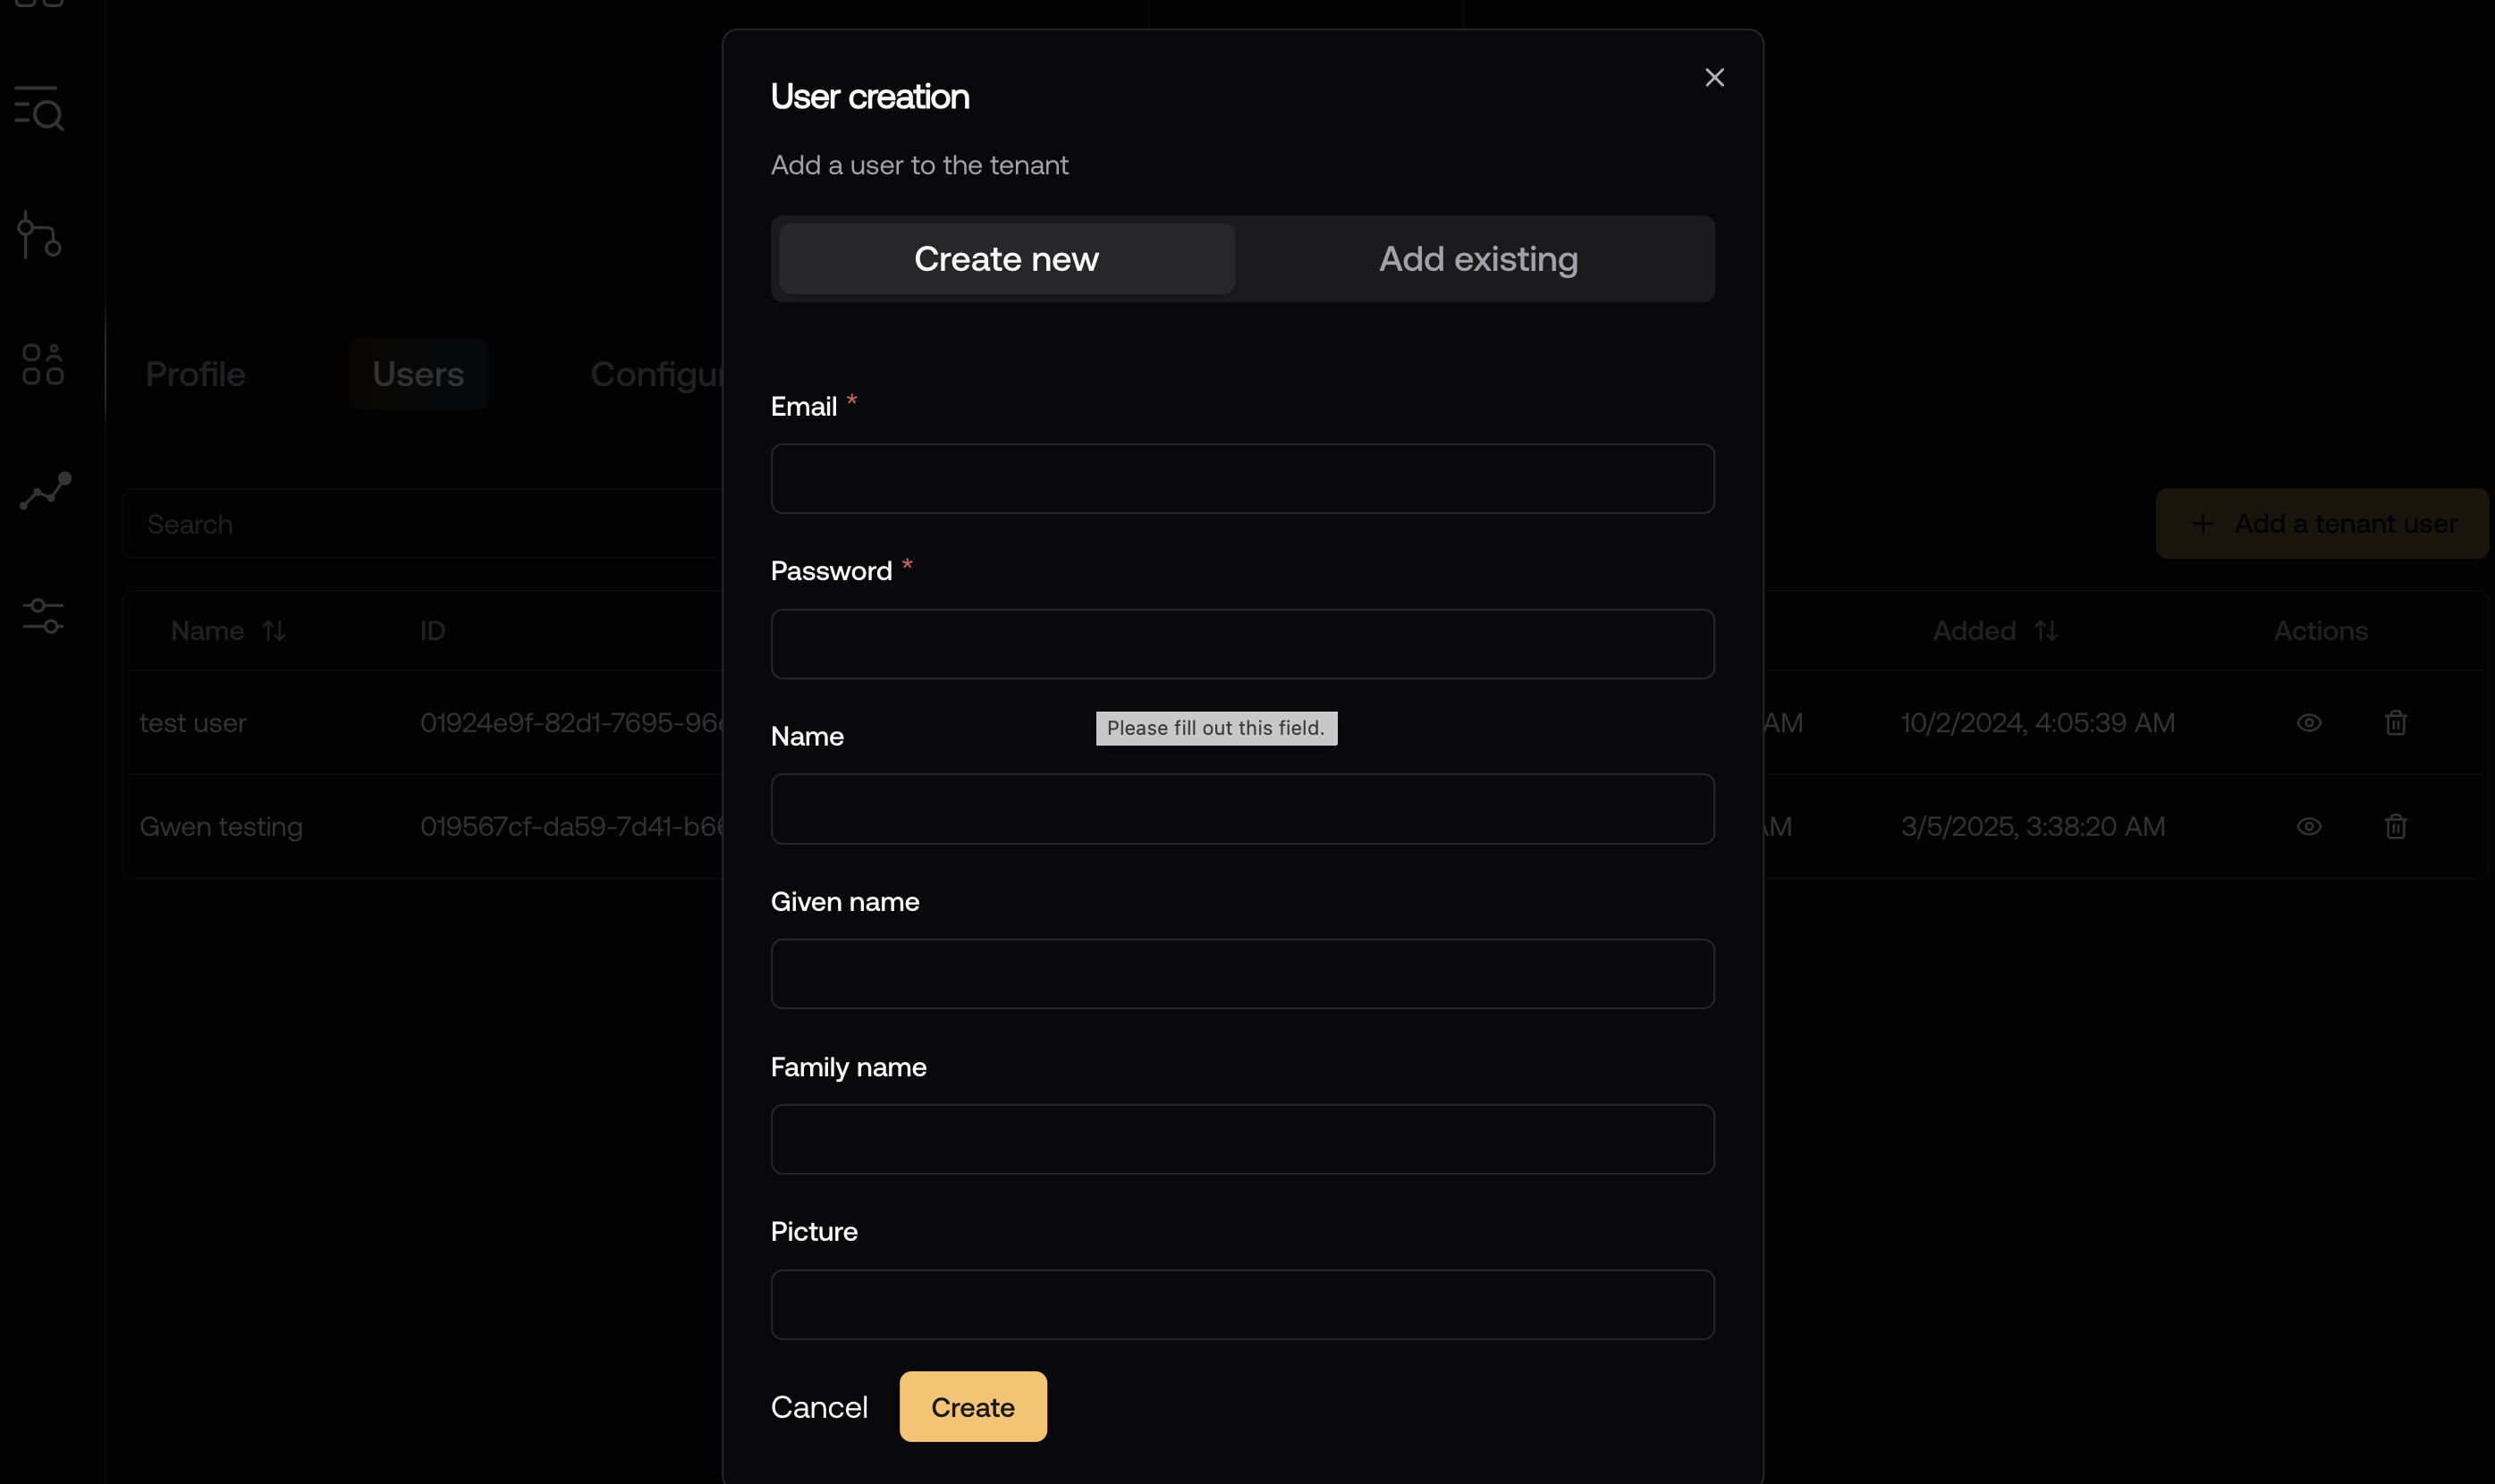
Managing Tenant Users
To manage tenant users, click on the tenant you want to manage and then click the “Users” tab.
Deleting a Tenant
To delete a tenant, click on the tenant you want to delete and then click the “Delete” button. Note that the tenant will not be deleted from the database - this is a soft delete, it will be marked as deleted and users will no longer be able to access it. But the tenant and all of its data will still exist in the database and can be undeleted if needed.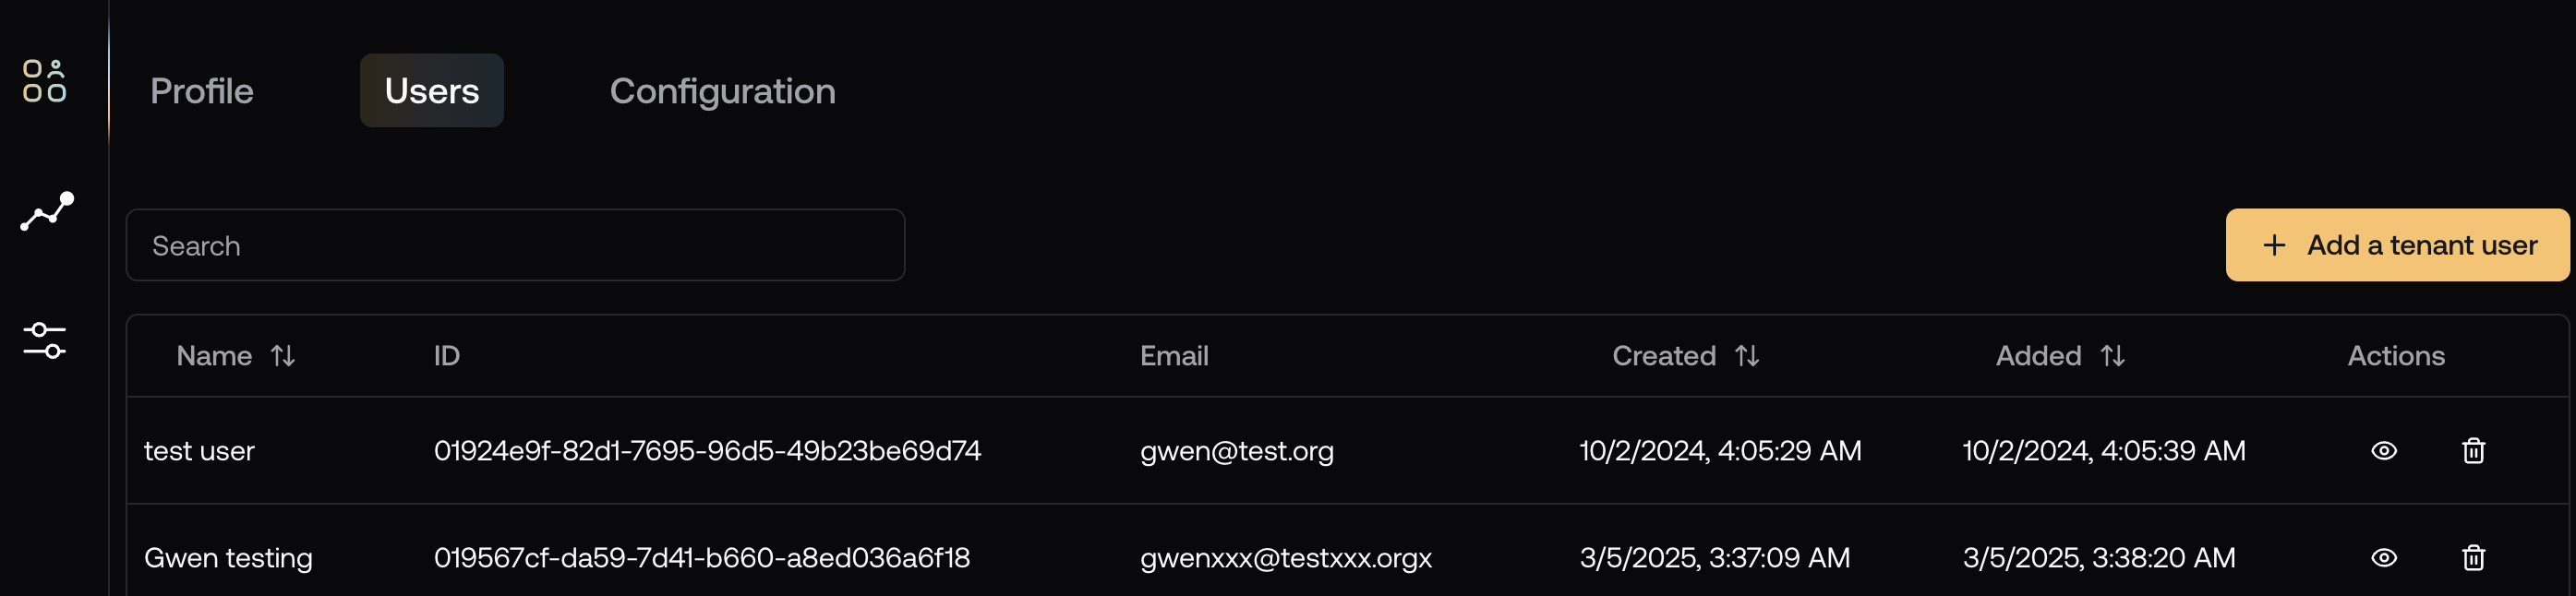
Best Practices
- Give tenants clear, descriptive names that help identify the organization (e.g., “Acme Corp - Production” rather than just “Acme”)
- The tenants table is yours! You can add fields to it to store any information you need about the tenant - stripe customer id, subscription tier, etc.
- Remove inactive users promptly to maintain security
- Regularly audit tenant access permissions
- Monitor for unusual activity patterns