
text-embedding-3-large model and stored in Nile. The code snippets are stored in a separate table in Nile.
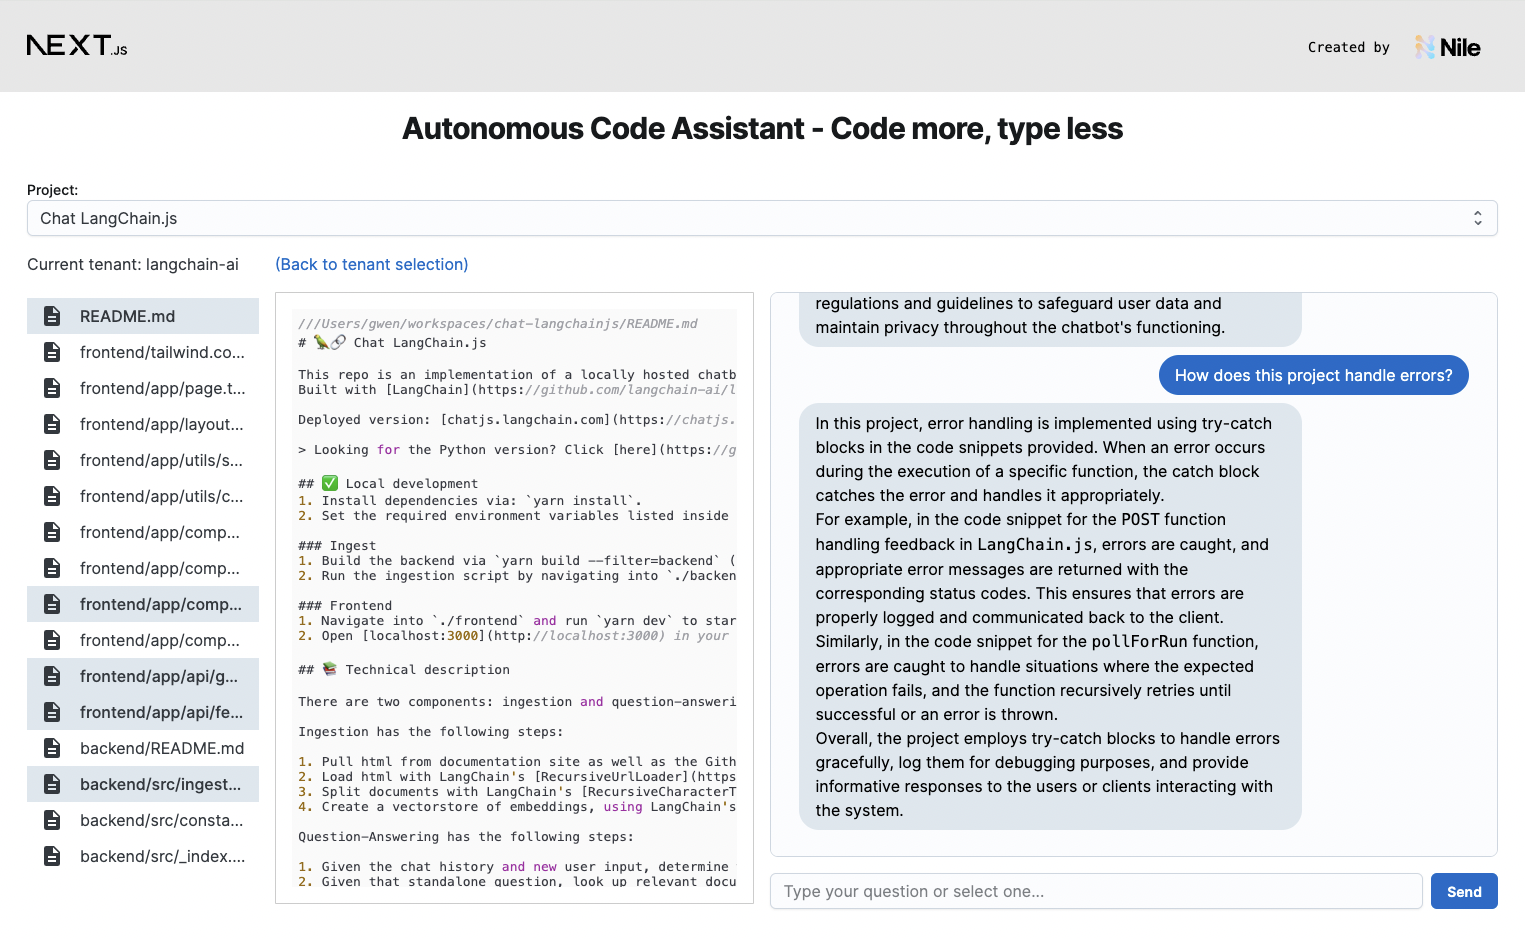
And the response to each question is generated by querying the code snippets table using pg_vector extension, and then sending the relevant documents to
OpenAI’s gpt-4o-mini model. The response is streamed back to the user in real-time.
Because of Nile’s virtual tenant databases, the retrieved code snippets will only be from the tenant the user selected,
and Nile validates that the user has permissions to view this tenant’s data. No risk of accidentally retrieving code that belongs to the wrong tenant.
1. Create a database
- Sign up for an invite to Nile if you don’t have one already
- You should see a welcome message. Click on “Lets get started”
- Give your workspace and database names, or you can accept the default auto-generated names.
2. Create tables
After you created a database, you will land in Nile’s query editor. Create the following table for storing our embeddings:embedding column is of type vector(1024). Vector type is provided by the pg_vector extension for storing embeddings.
The size of the vector has to match the number of dimensions in the model you use.
The table has tenant_id column, which makes it tenant aware. By storing embeddings in a tenant-aware table, we can use Nile’s built-in tenant isolation to ensure that
information about PDFs won’t leak between tenants.
We also need somewhere to store the code itself. It doesn’t have to be Postgres - S3 or Github are fine. But Postgres is convenient in our example.
3. Getting Nile credentials
In the left-hand menu, click on “Settings” and then select “Credentials”. Generate credentials and keep them somewhere safe. These give you access to the database. In addition, you’ll need the API URL. You’ll find it under “Settings” in the “General” page.4. Third party dependencies
This project uses OpenAI for both embeddings and chat models. To run this example, you will need an OpenAI API keys. This demo uses Google authentication for signup. You will need to configure this in both Google and Nile, following the instructions in the example.5. Setting the environment
-
If you haven’t cloned this project yet, now will be an excellent time to do so. Since it uses NextJS, we can use
create-next-appfor this: -
Rename
.env.exampleto.env.local, and update it with your Nile credentials, OpenAI credentials and (if using Google SSO) Nile’s API URL. -
Install dependencies with
npm install.
6. Generating Embeddings
You’ll need to start by generating and storing embeddings for a few interesting projects.- Start by cloning some interesting repos to your laptop. You can start with this examples repository, but any repo will work.
- Open
src/lib/OrgRepoEmbedder.ts - Edit the
await embedDirectory(...)'calls to refer to your repos. It is typical to map each github organization to a Nile tenant and each repo to a project, but you can model this in any way that makes sense to you. Keep in mind that CodeAssist will only use embeddings from the current project and current tenant as context, so make sure each project is interesting enough to discuss. - Run the embedder with
node --experimental-specifier-resolution=node --loader ts-node/esm --no-warnings src/lib/OrgRepoEmbedder.ts - The embedder automatically creates tenants, projects and embeddings for you. You can use Nile Console to view the data you just generated and double check that it all looks right.
7. Running the app
To run the app, simply:select * from users in the query editor.
Once you choose a tenant, you can select a project, browse files, and most important - ask our CodeAssist any question about the projects you embedded.